如何创建模因币(工作指南 2025)
第 1 使用 Metamask 和 Remix Ethereum 创建 meme 代币
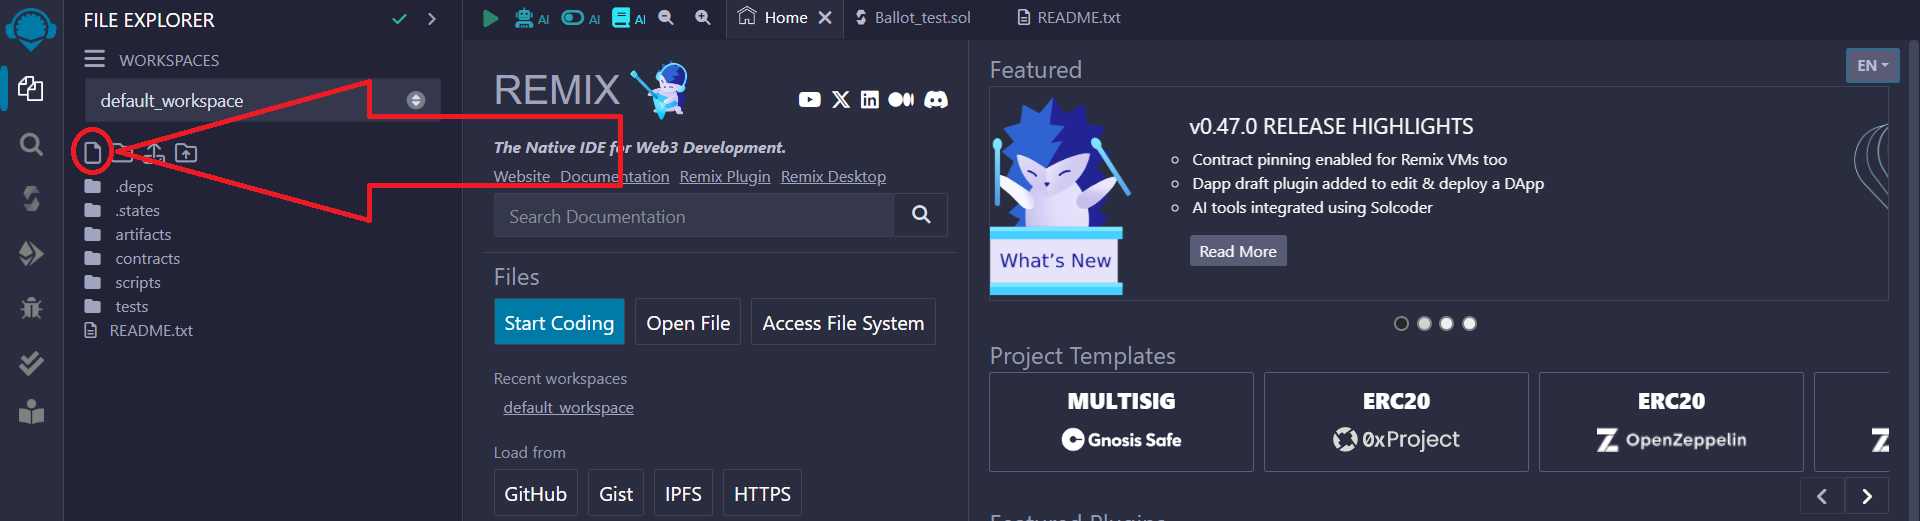
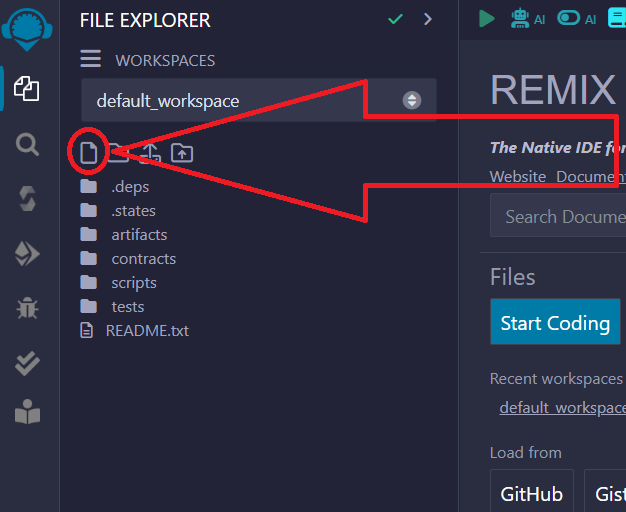
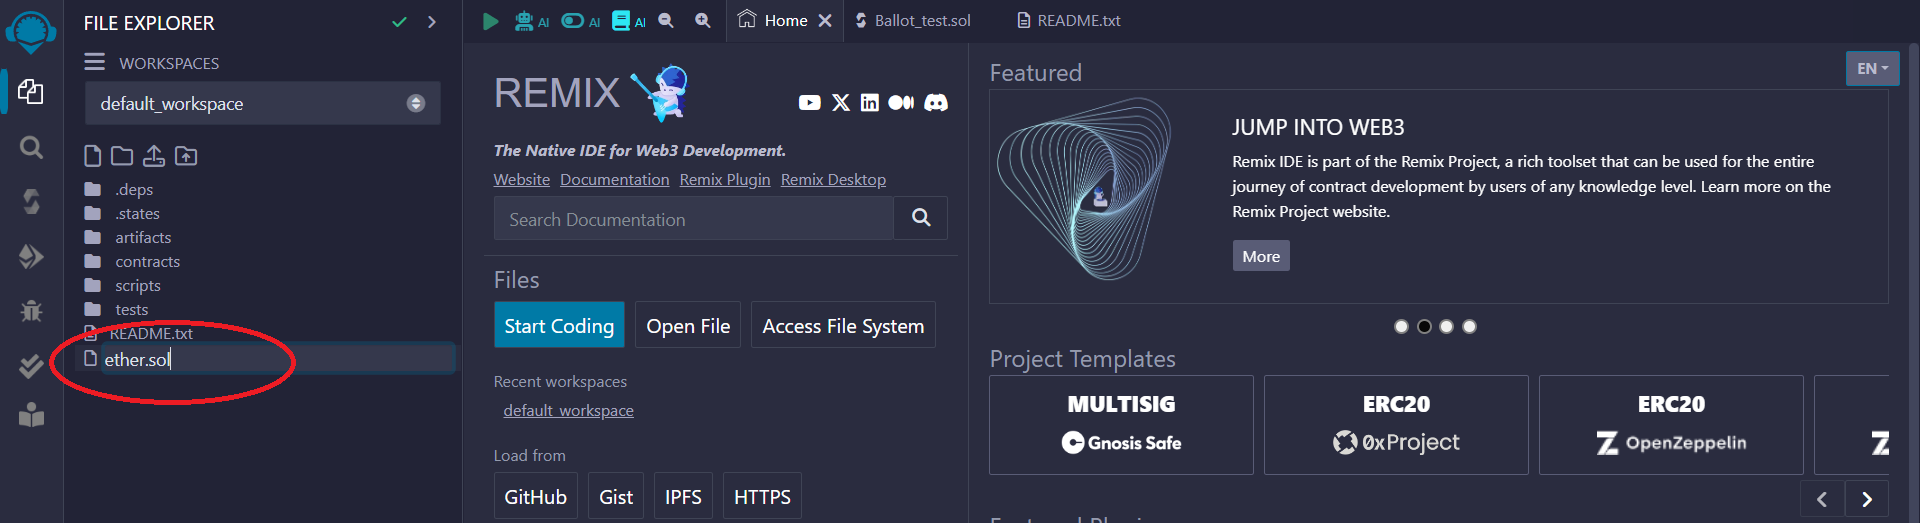
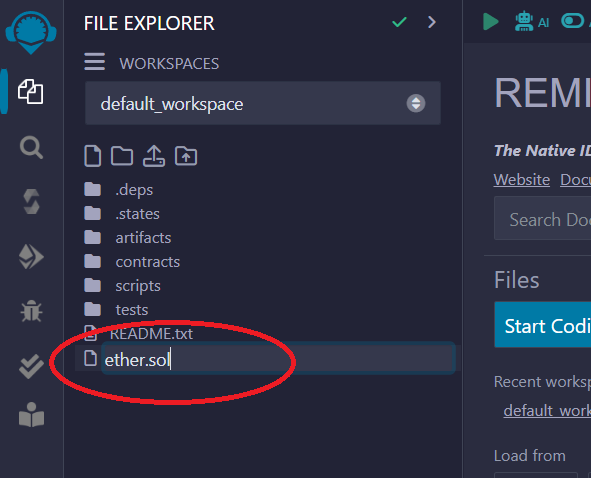
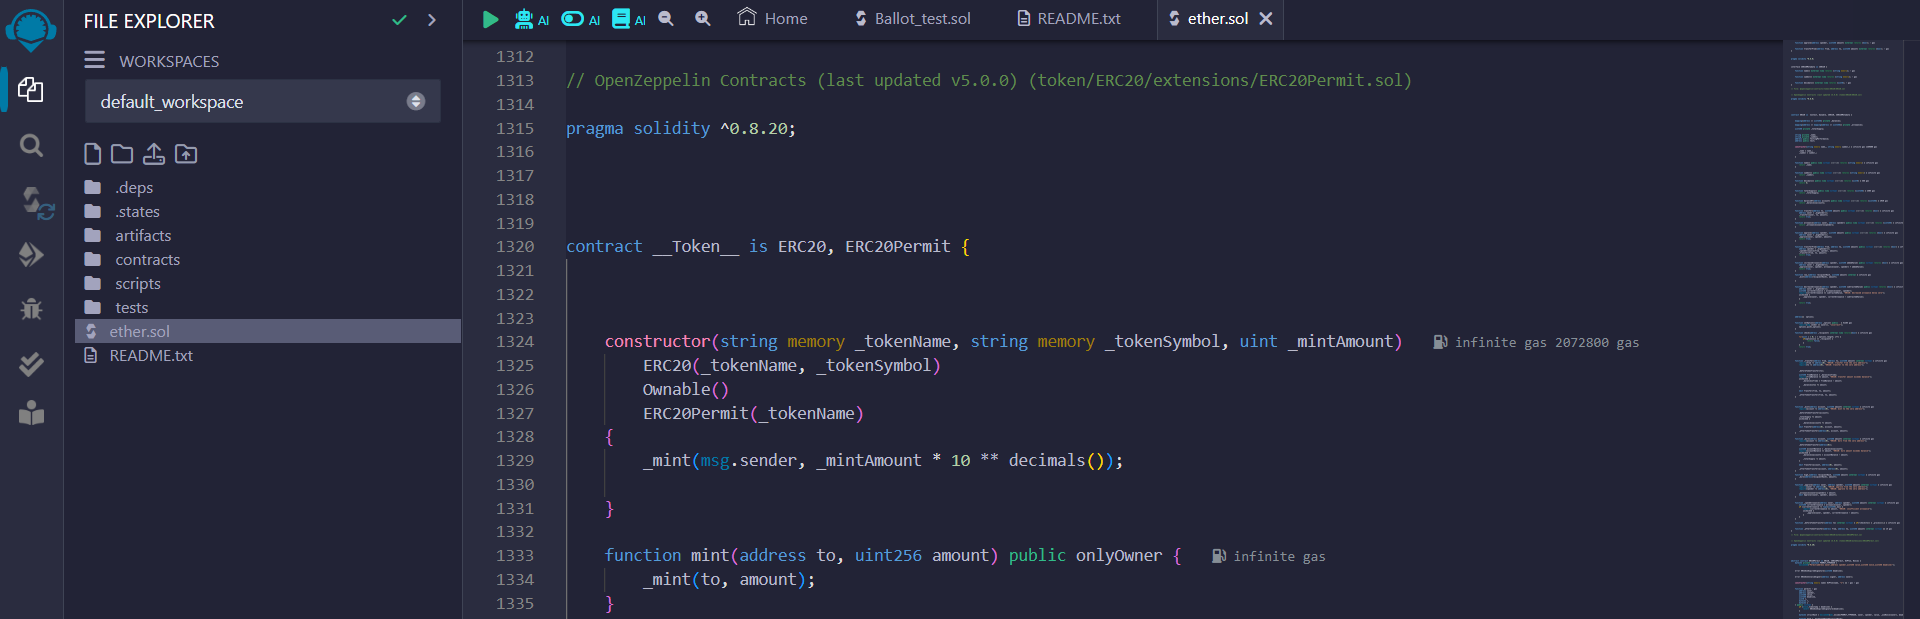
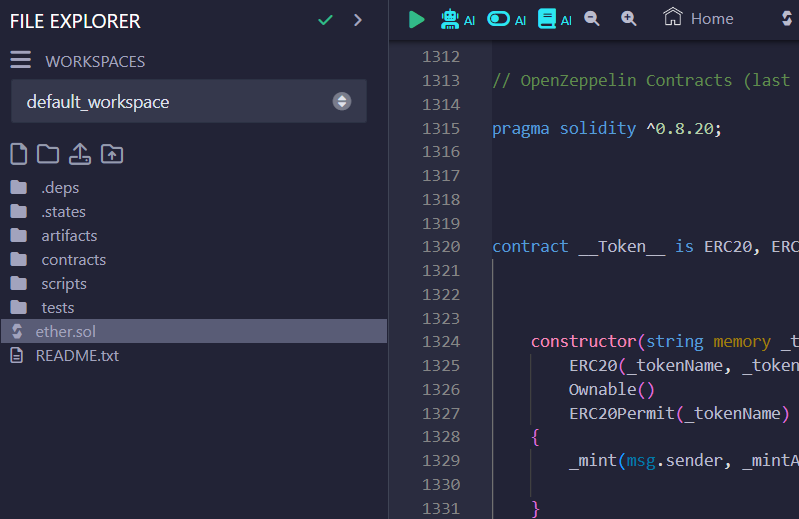
將檔案命名為任意名稱,請務必在末尾加上 .sol,例如:
ether.sol
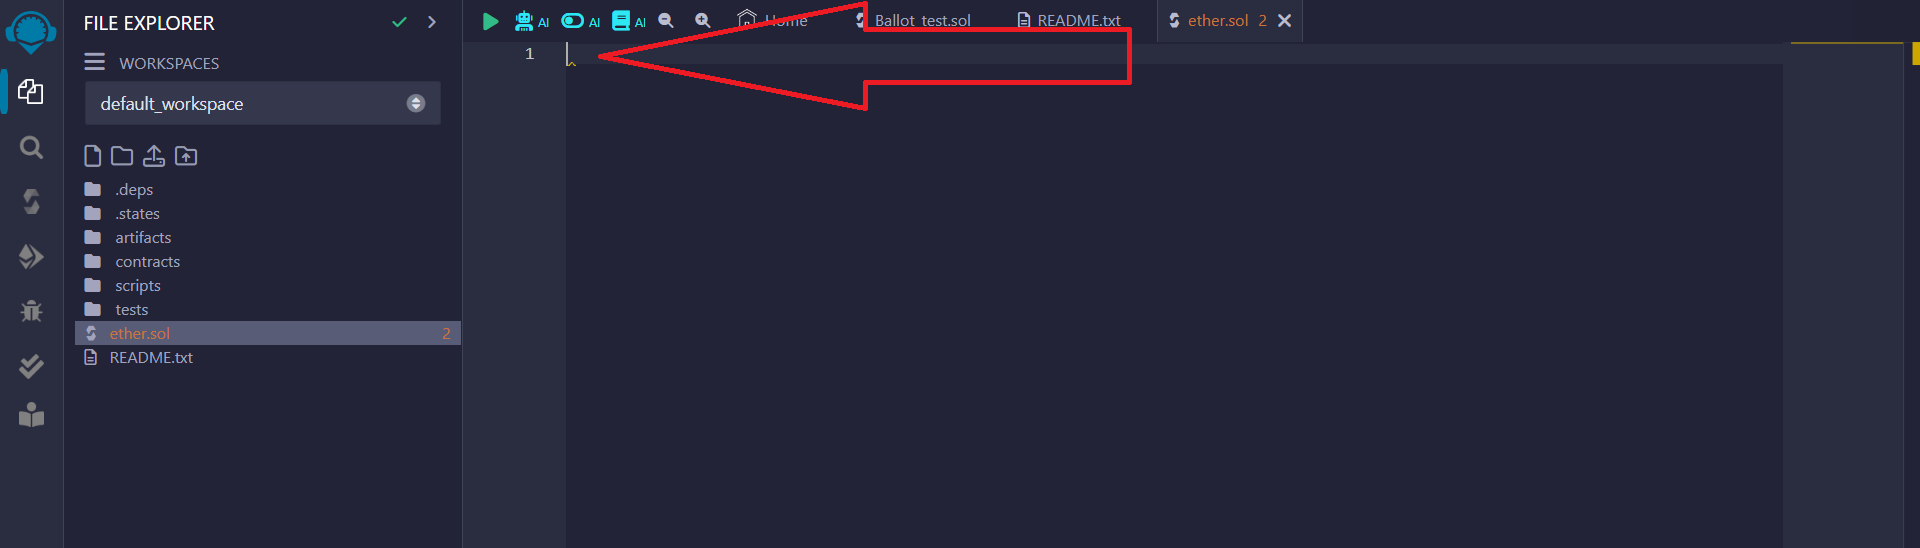
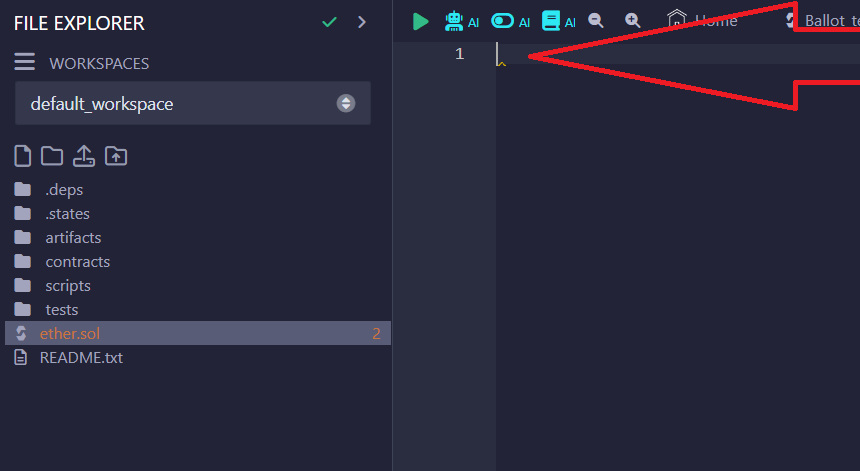
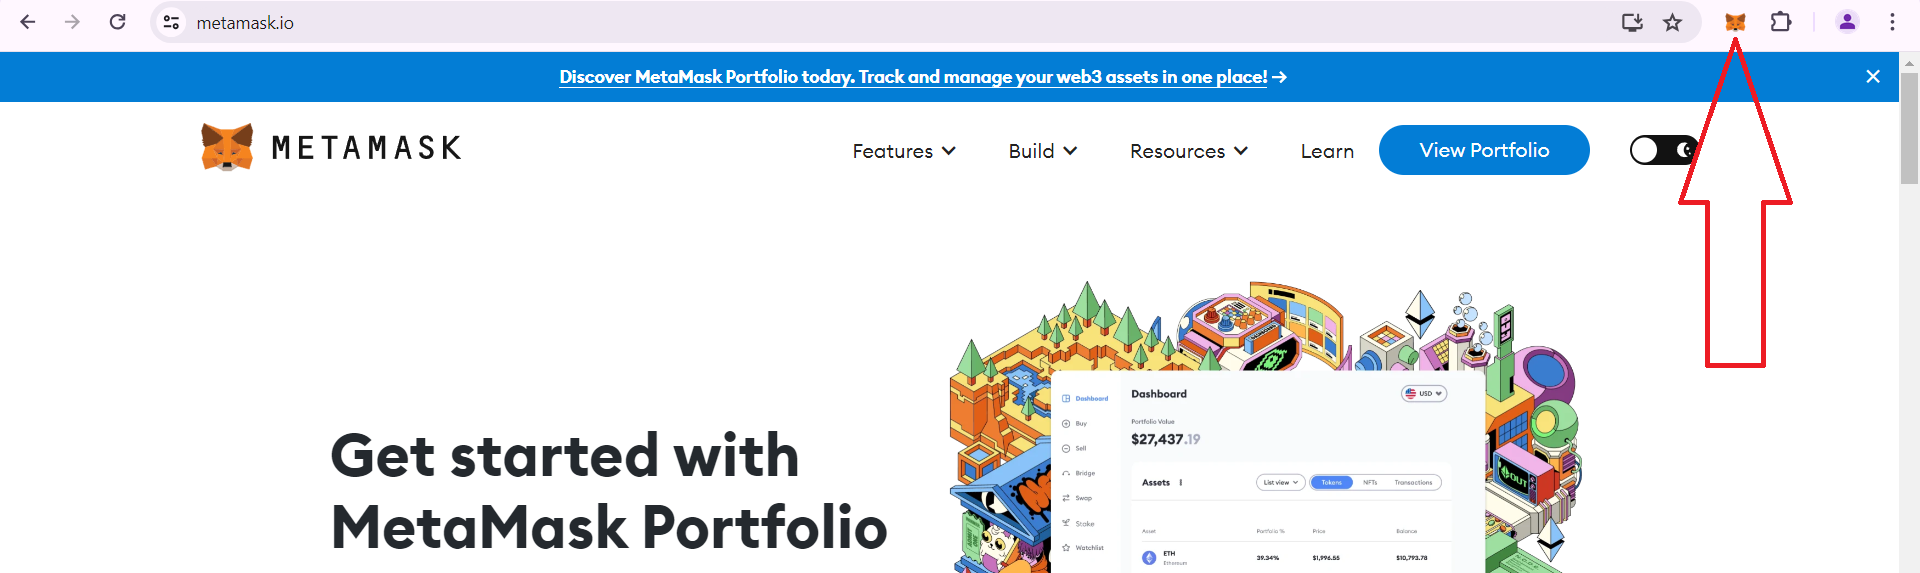
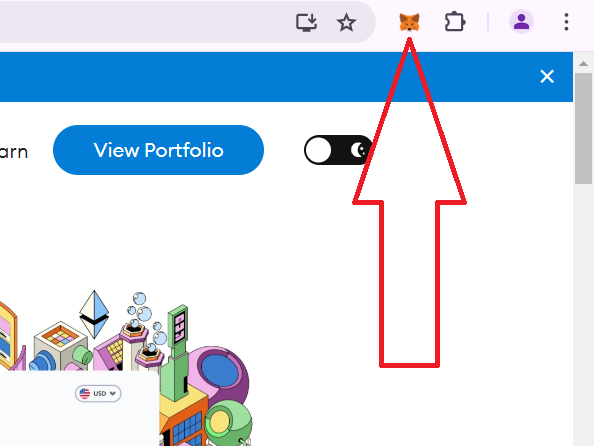
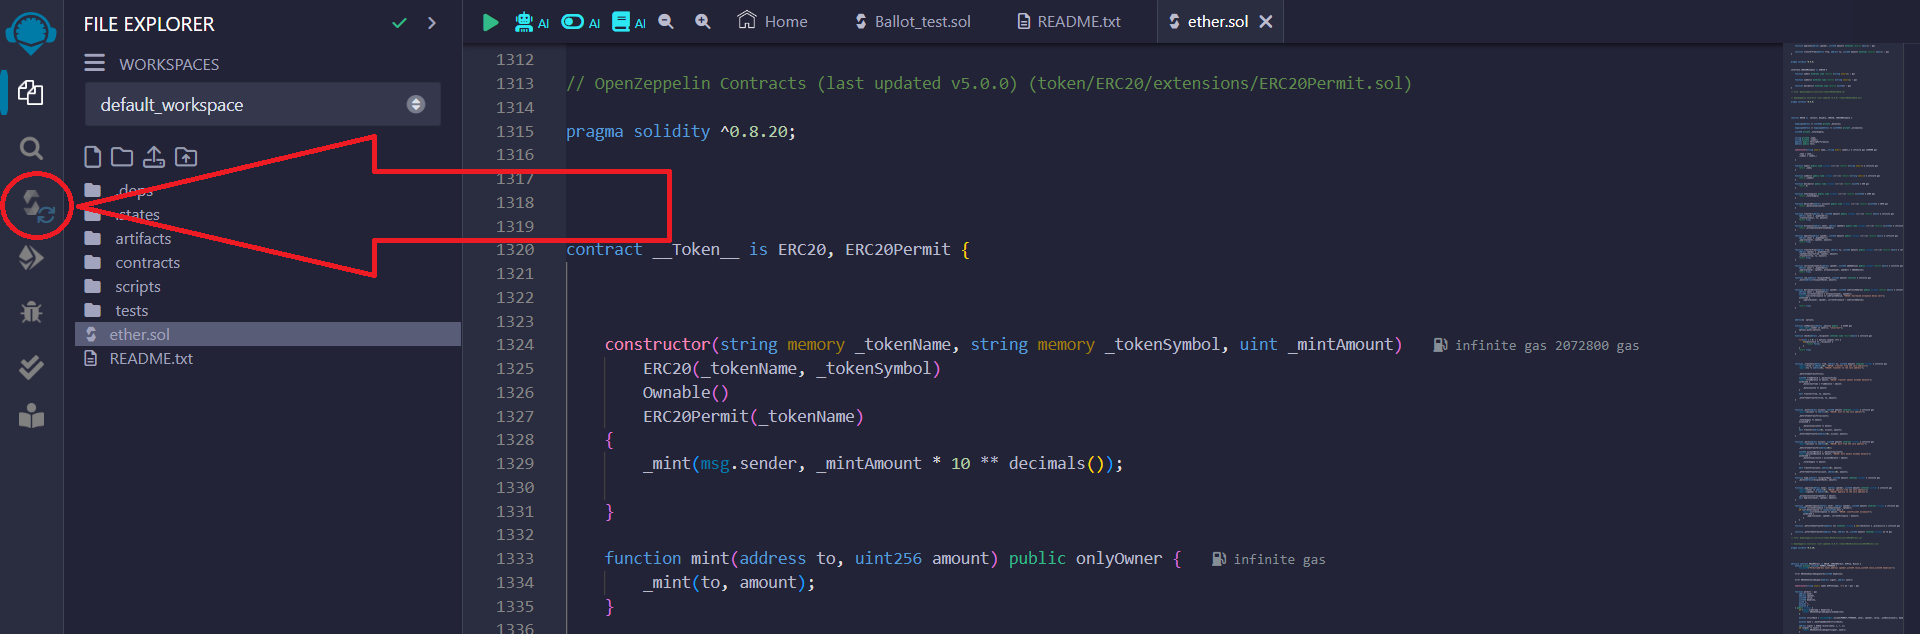
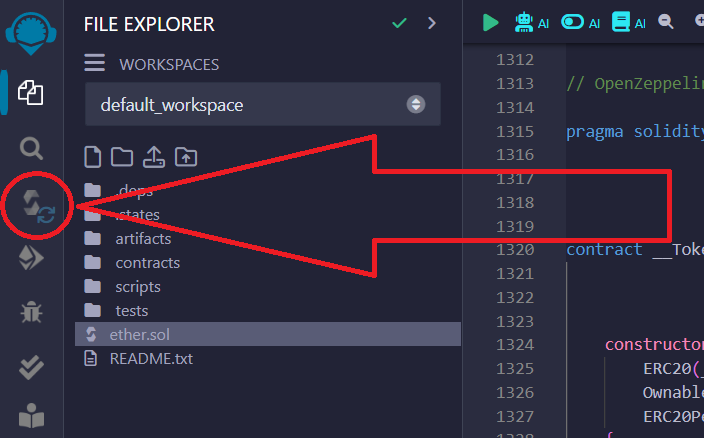
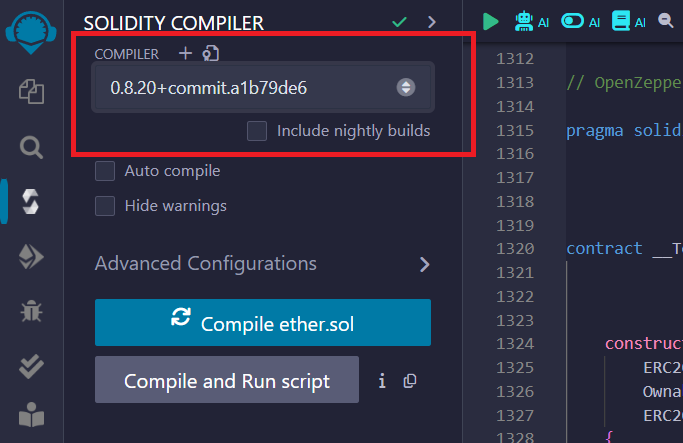
4)點選面板左側的圖標,如下圖:
接下來需要選擇編譯器,如下: 0.8.20...
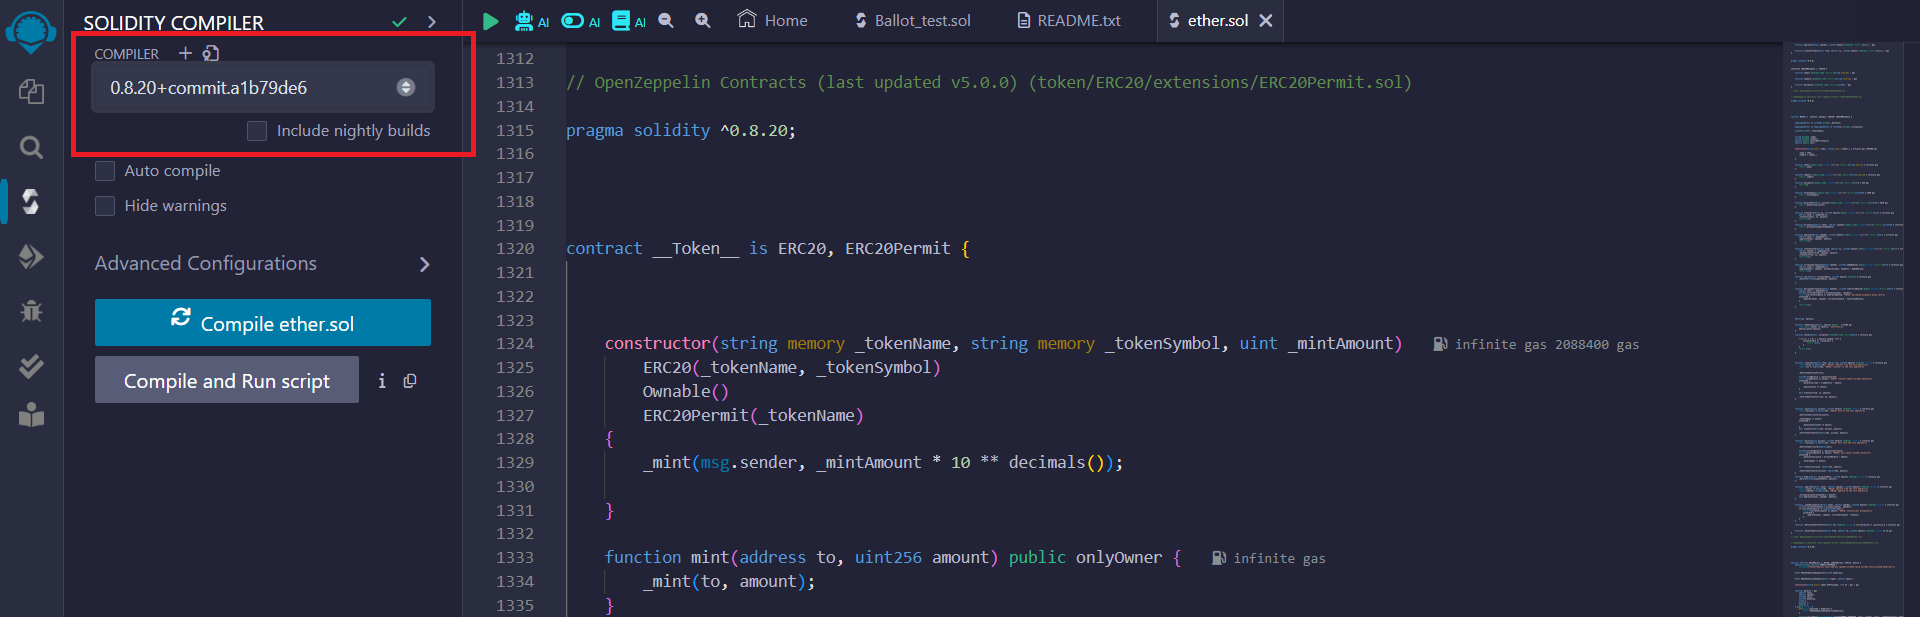
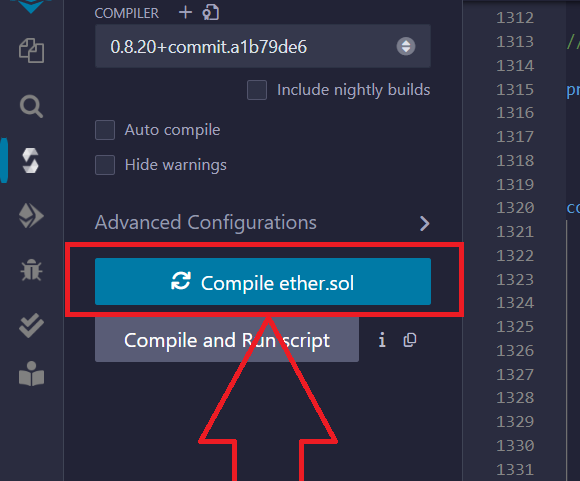
然後點選Compile按鈕

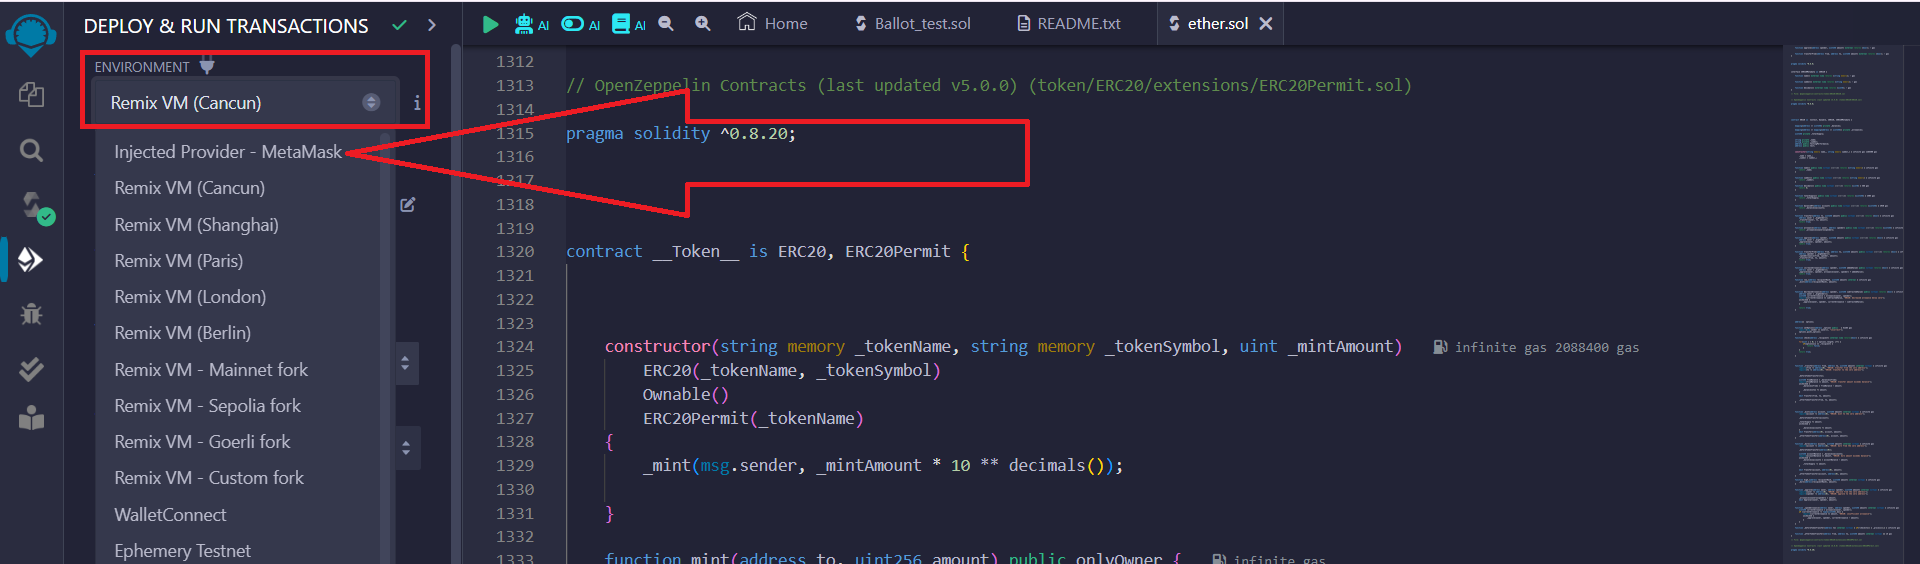
5)程式碼編譯成功後,點選面板左側的圖標,如下圖:
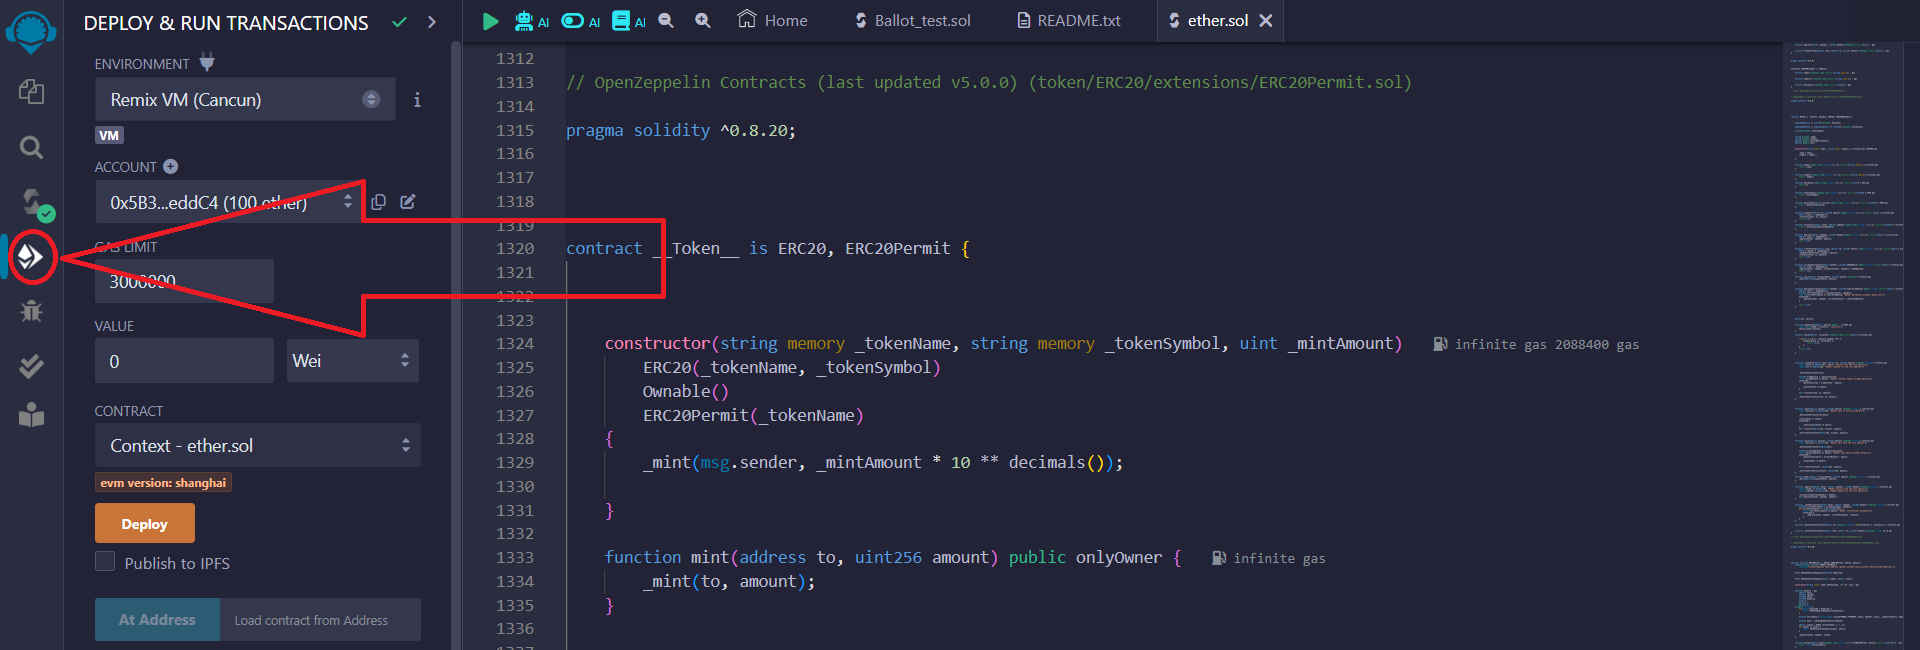
選擇Injected Provider – MetaMask,因為我們使用的是這個錢包:

根據您所需的代幣發行網絡配置 Metamask 錢包中的網絡。 您可以在以太坊主網、幣安智能鏈、基礎主網和任何其他網路上發行代幣。 我們選擇幣安智能鍊是因為它的費用最低。
您可以在此處閱讀有關在 Metamask 錢包中更改網絡的說明
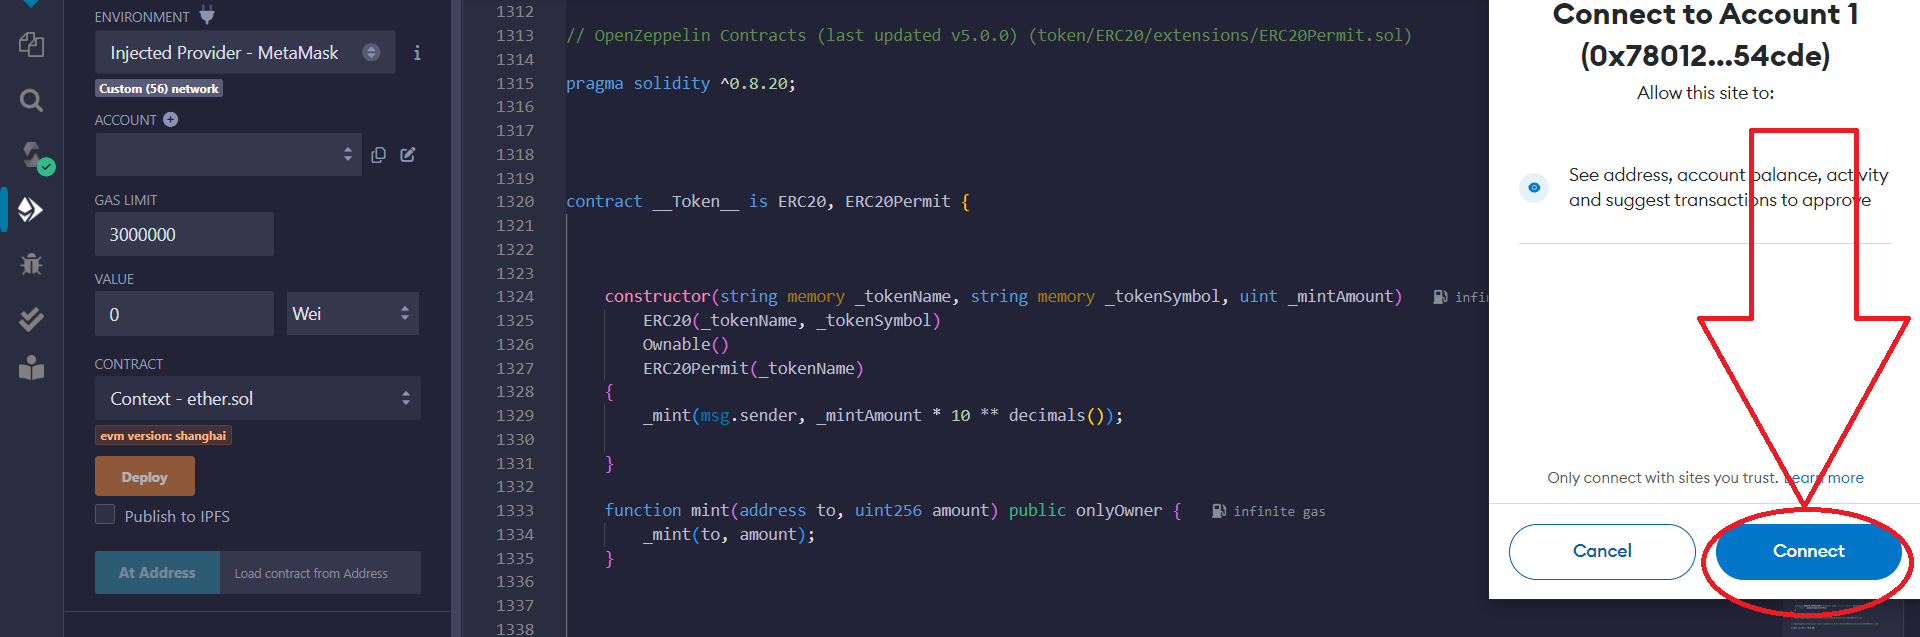
在 Metamask 彈出視窗中,確認將您的錢包連接到該網站:

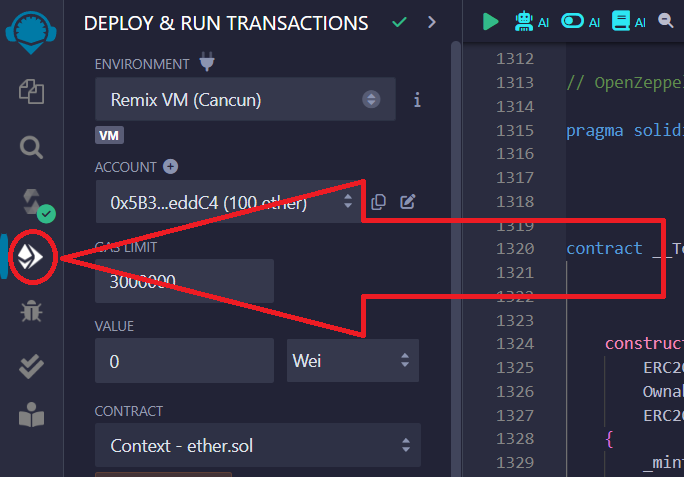
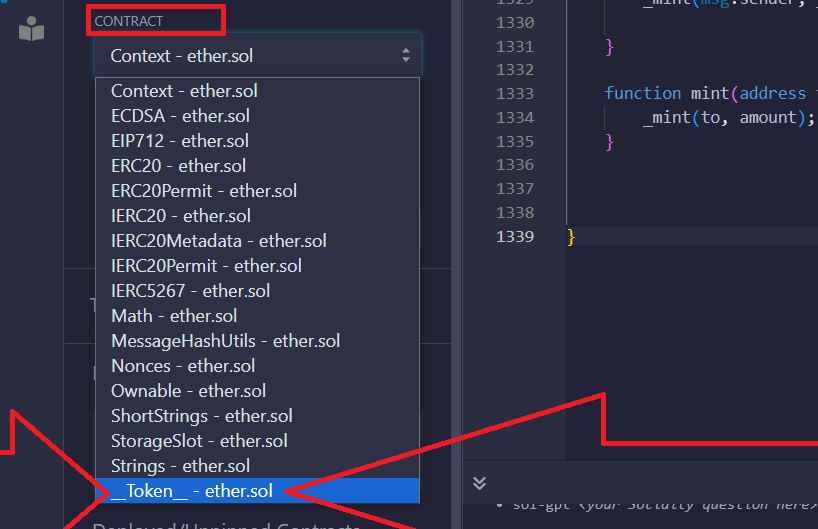
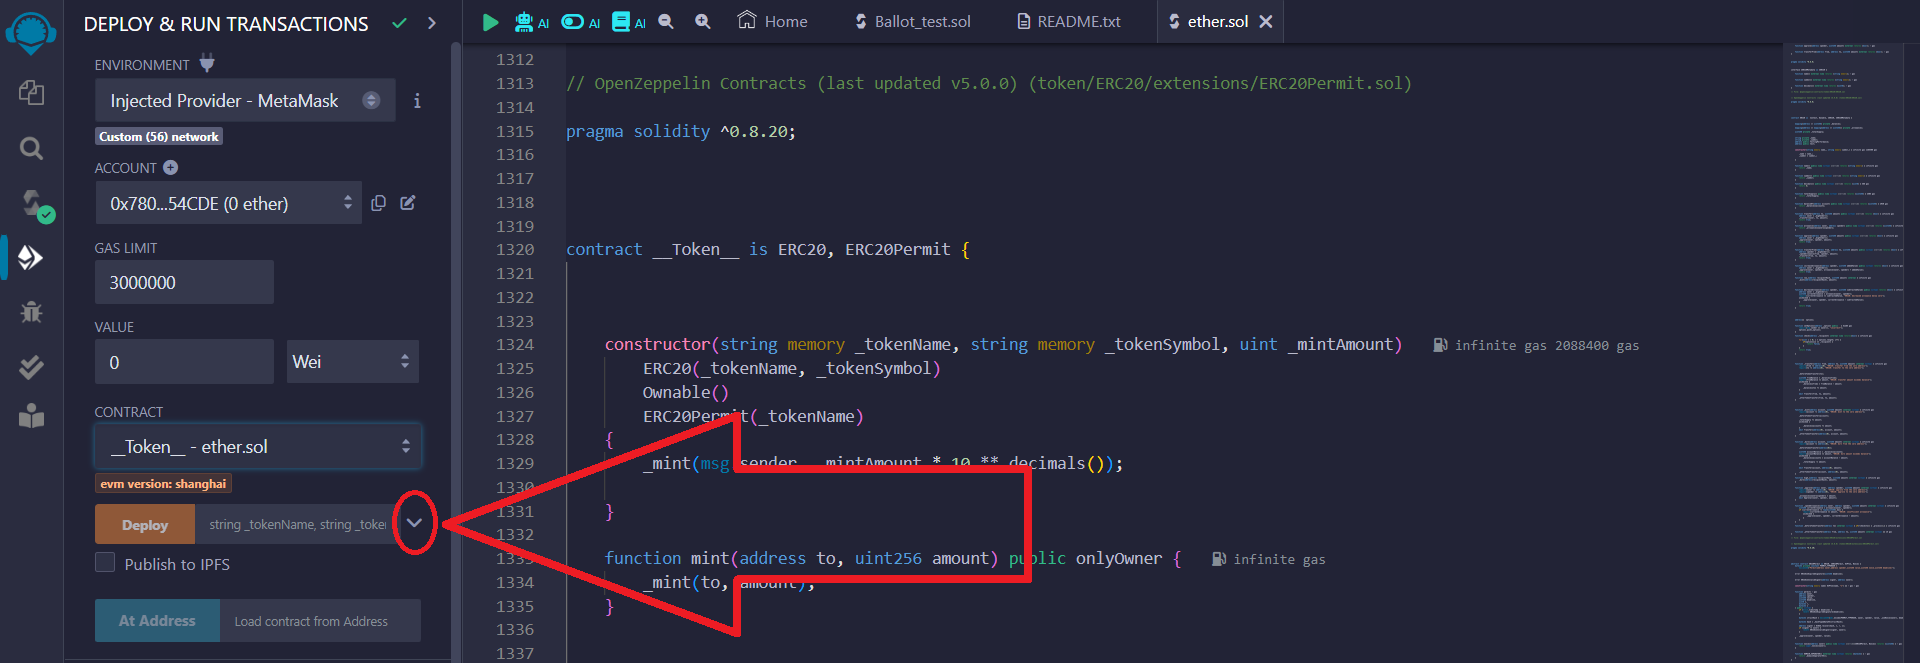
6) 在"Contract"部分,選擇合約__Token__ - 您的檔案名,如下所示:
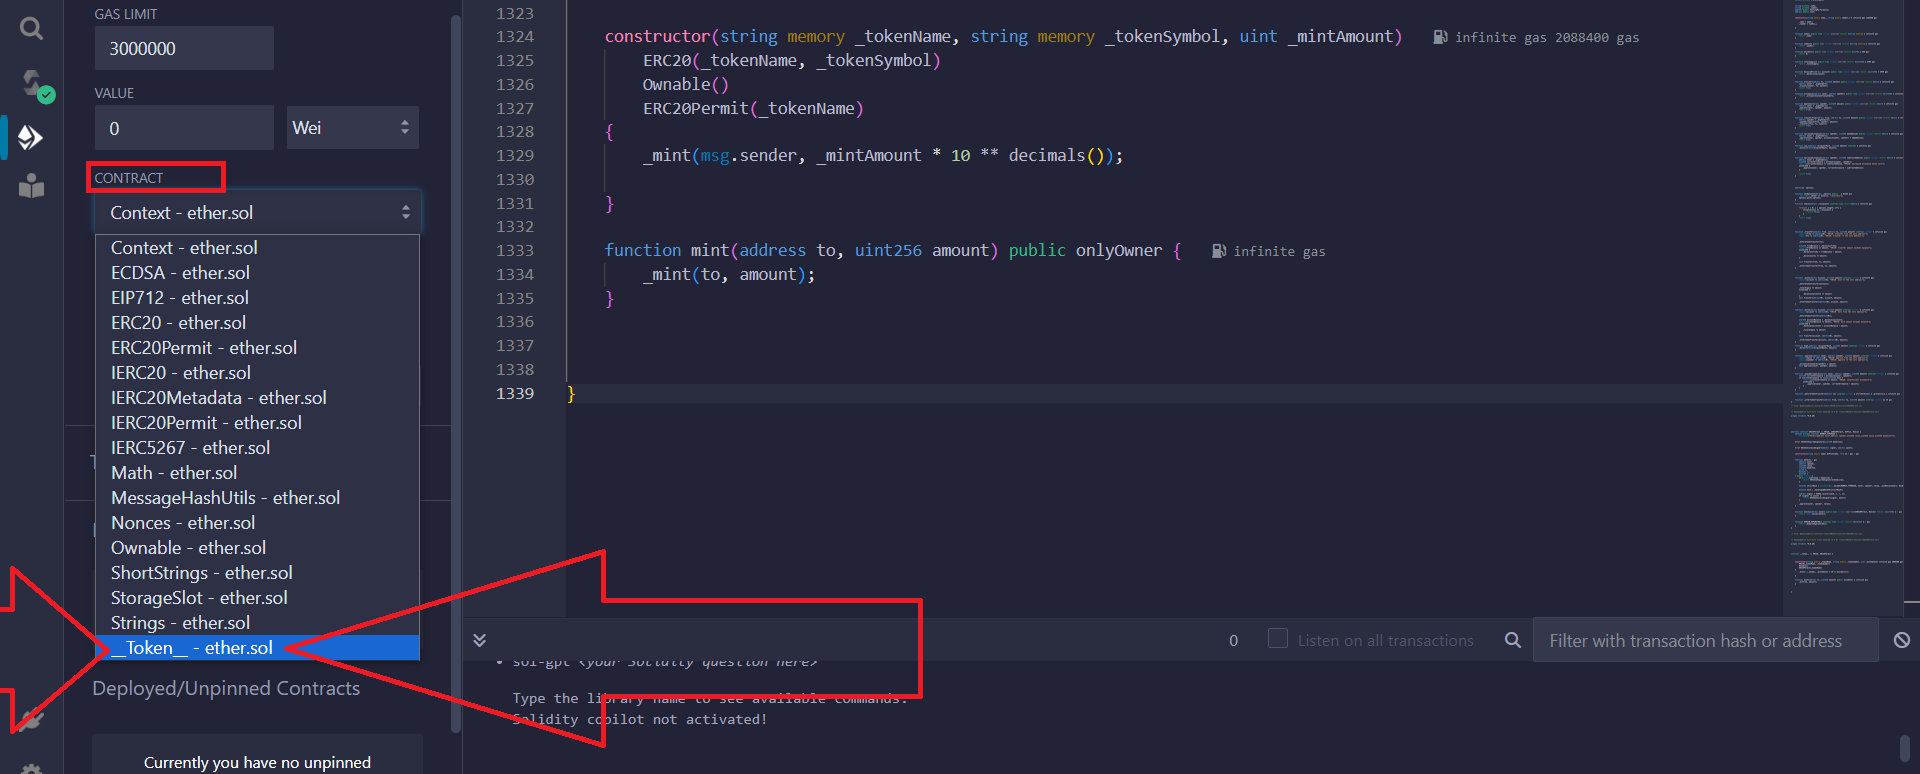
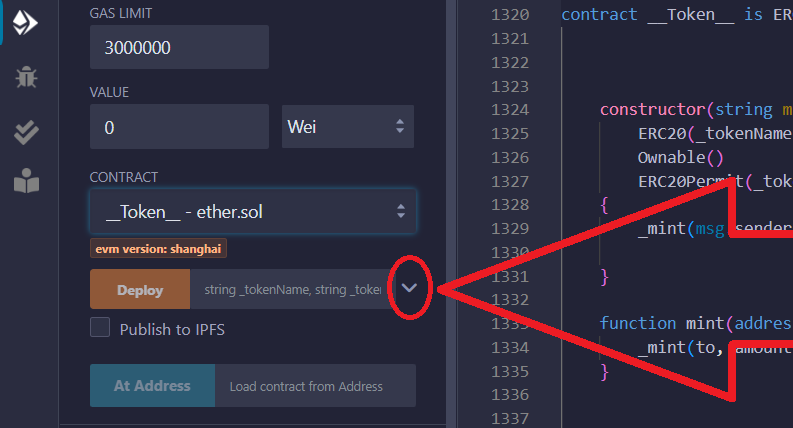
接下來,按一下箭頭:
此步驟是配置令牌所必需的
輸入要建立的令牌的參數:
_TOKENNAME – 令牌的全名
_TOKENSYMBOL – 令牌的縮寫名稱
_MINTAMOUNT – 發行的代幣數量
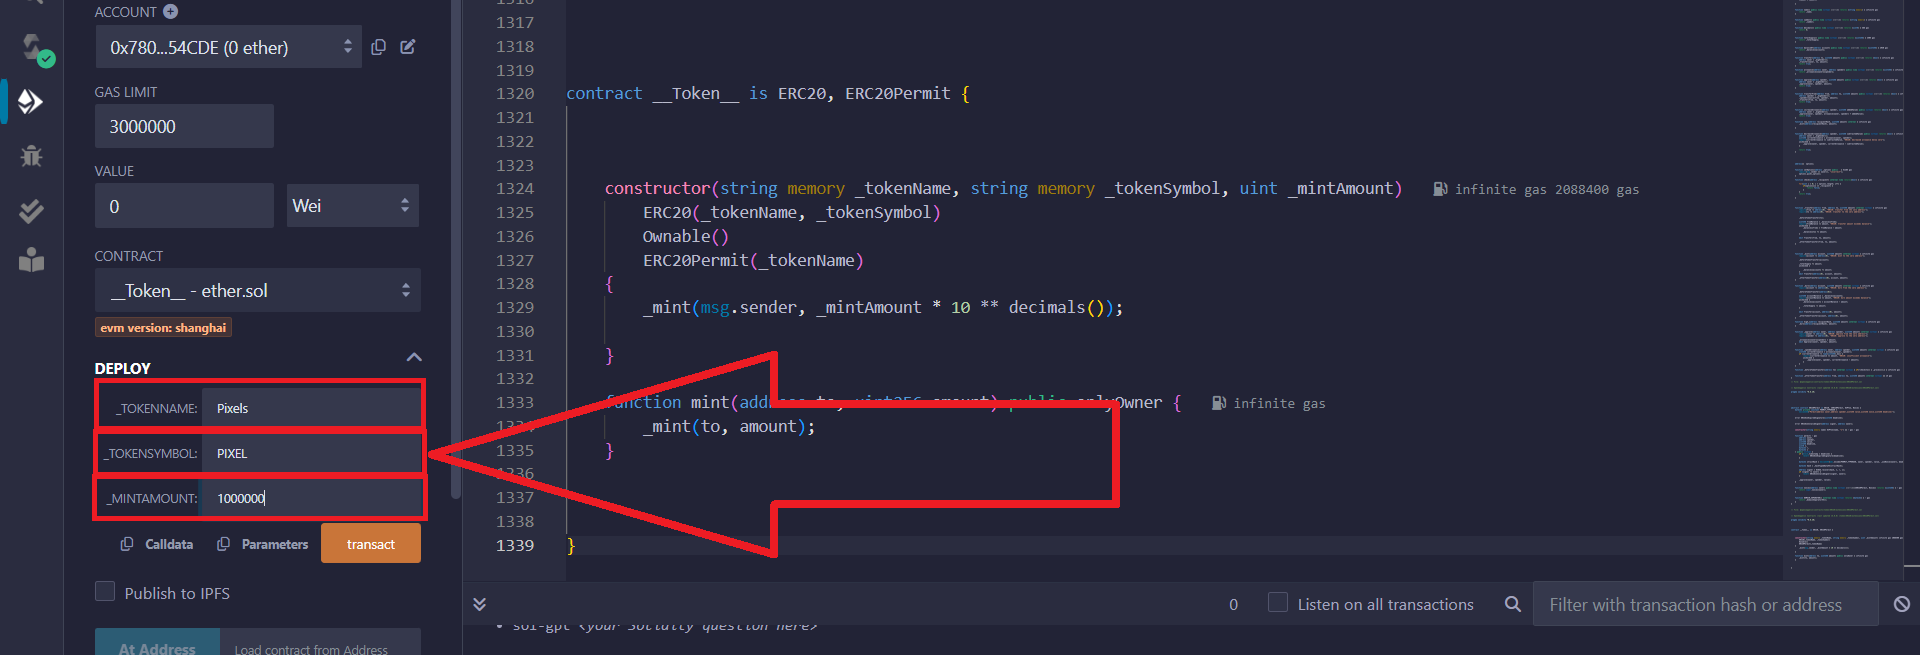
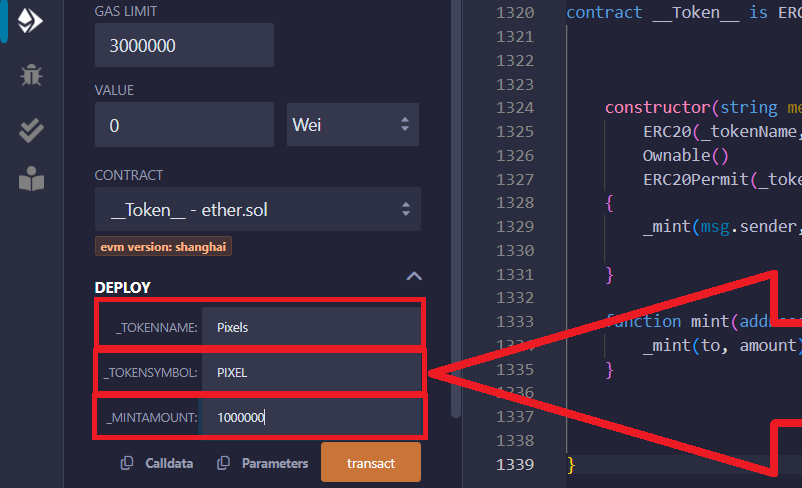
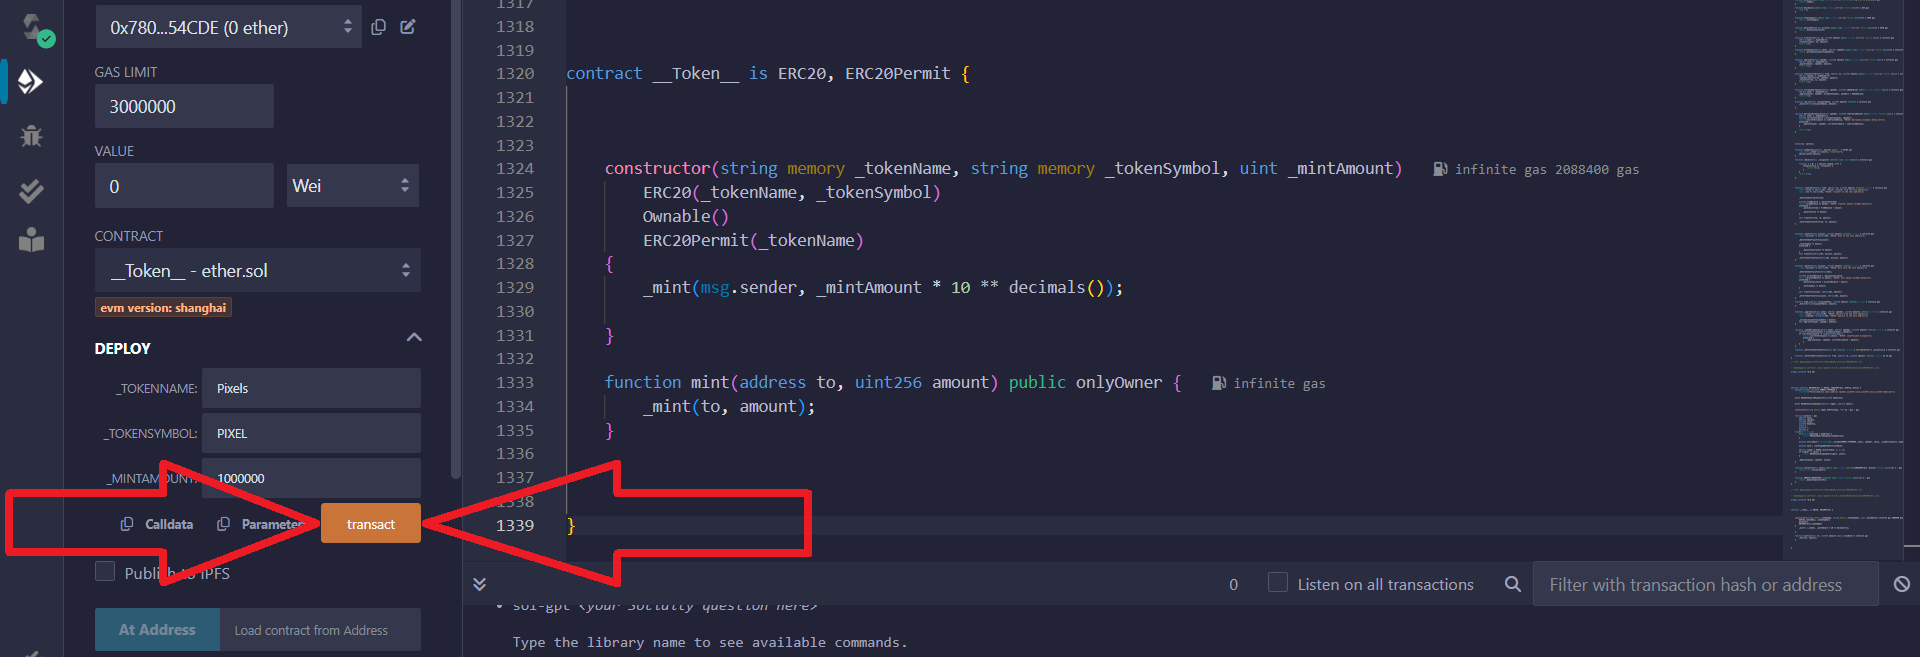
7) 完成代幣設定後,點選"transact"按鈕:

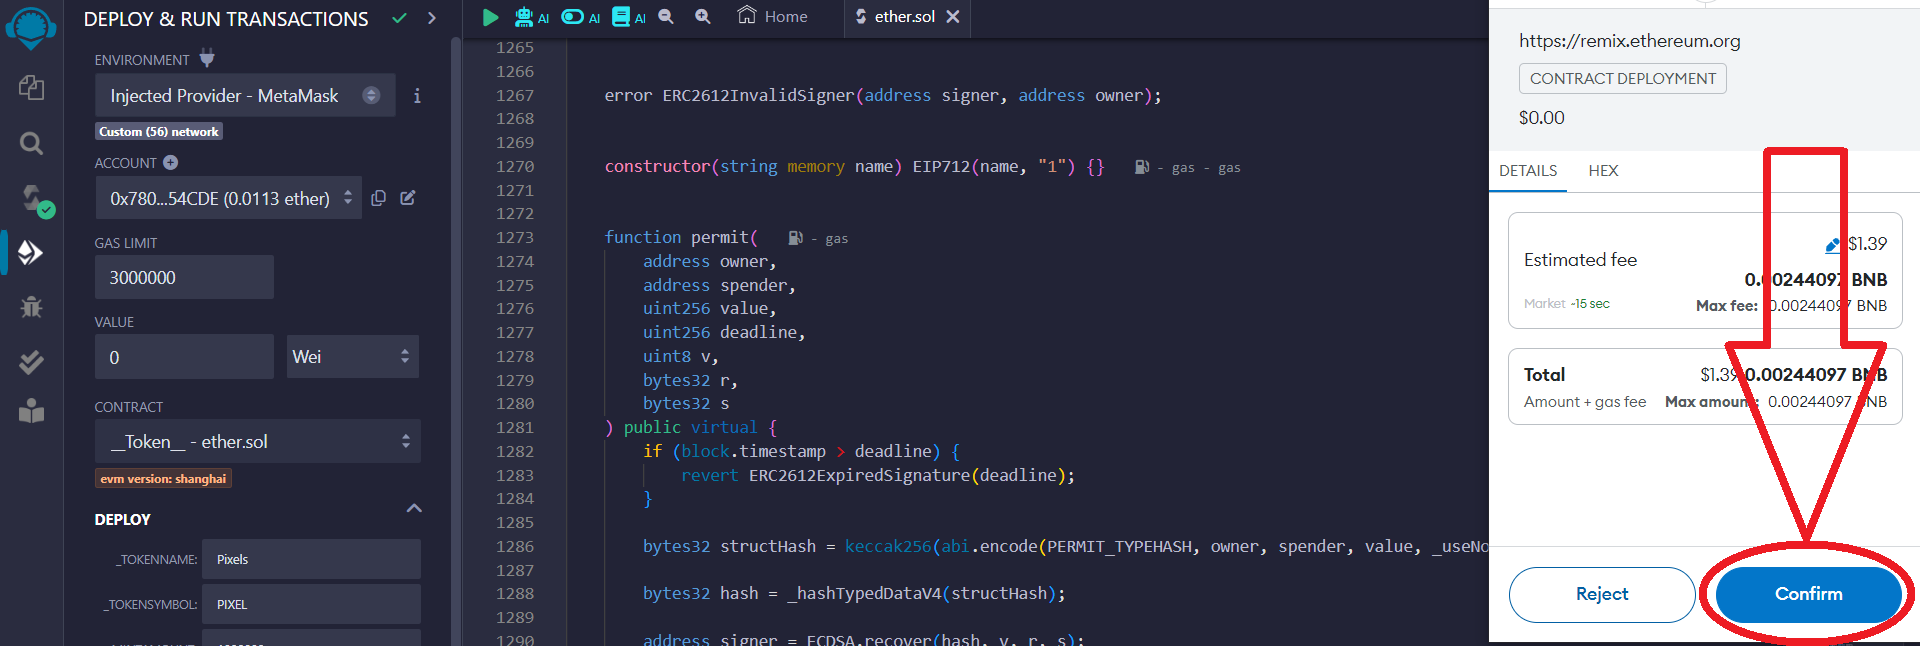
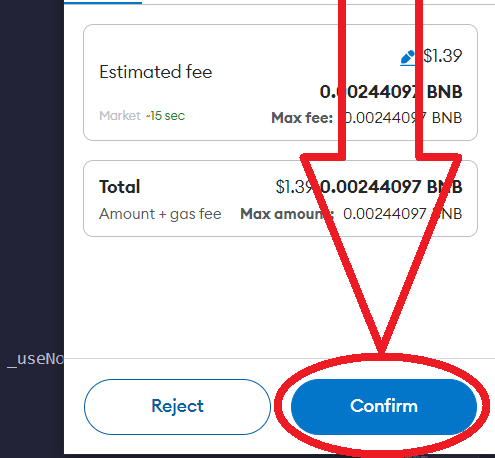
在 Metamask 彈出視窗中,確認交易:
確保 Metamask 已連接到 Remix IDE
8)太棒了! 您的代幣已創建,現在您可以將其添加到您的錢包中。
為此,請轉到您的 Metamask 錢包:
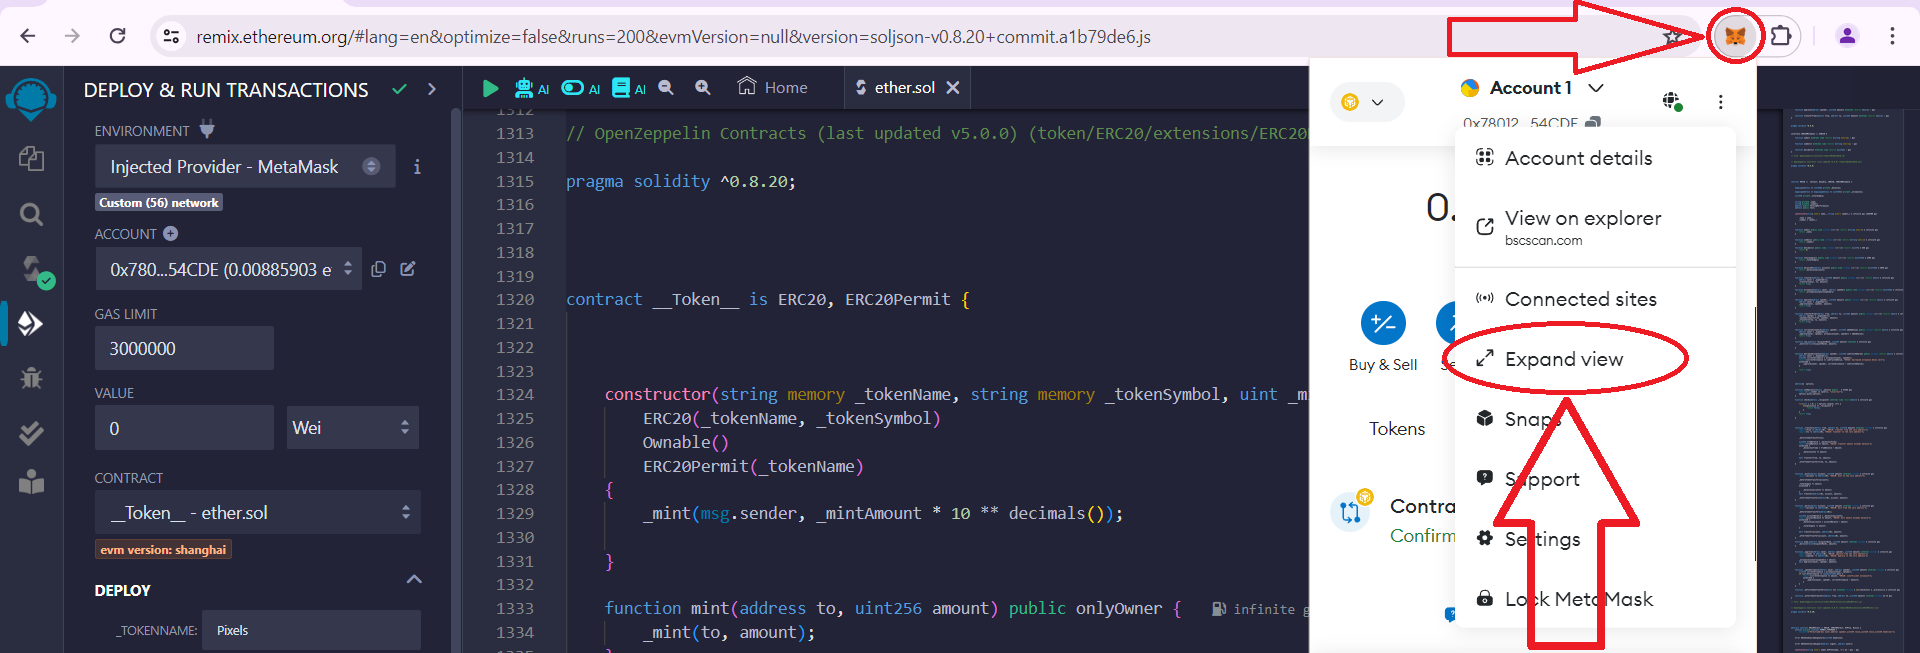
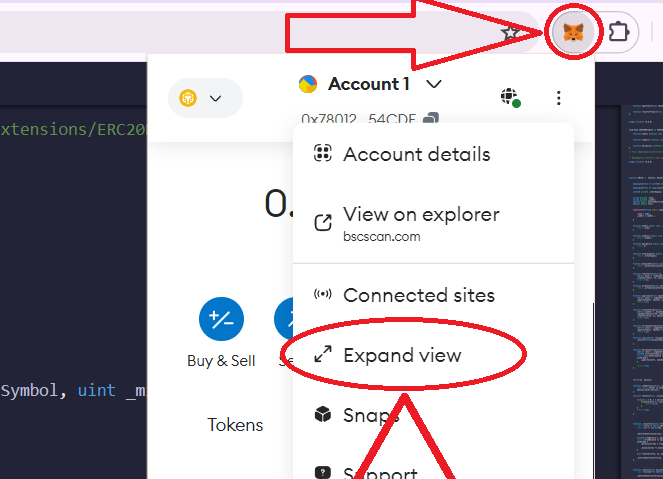
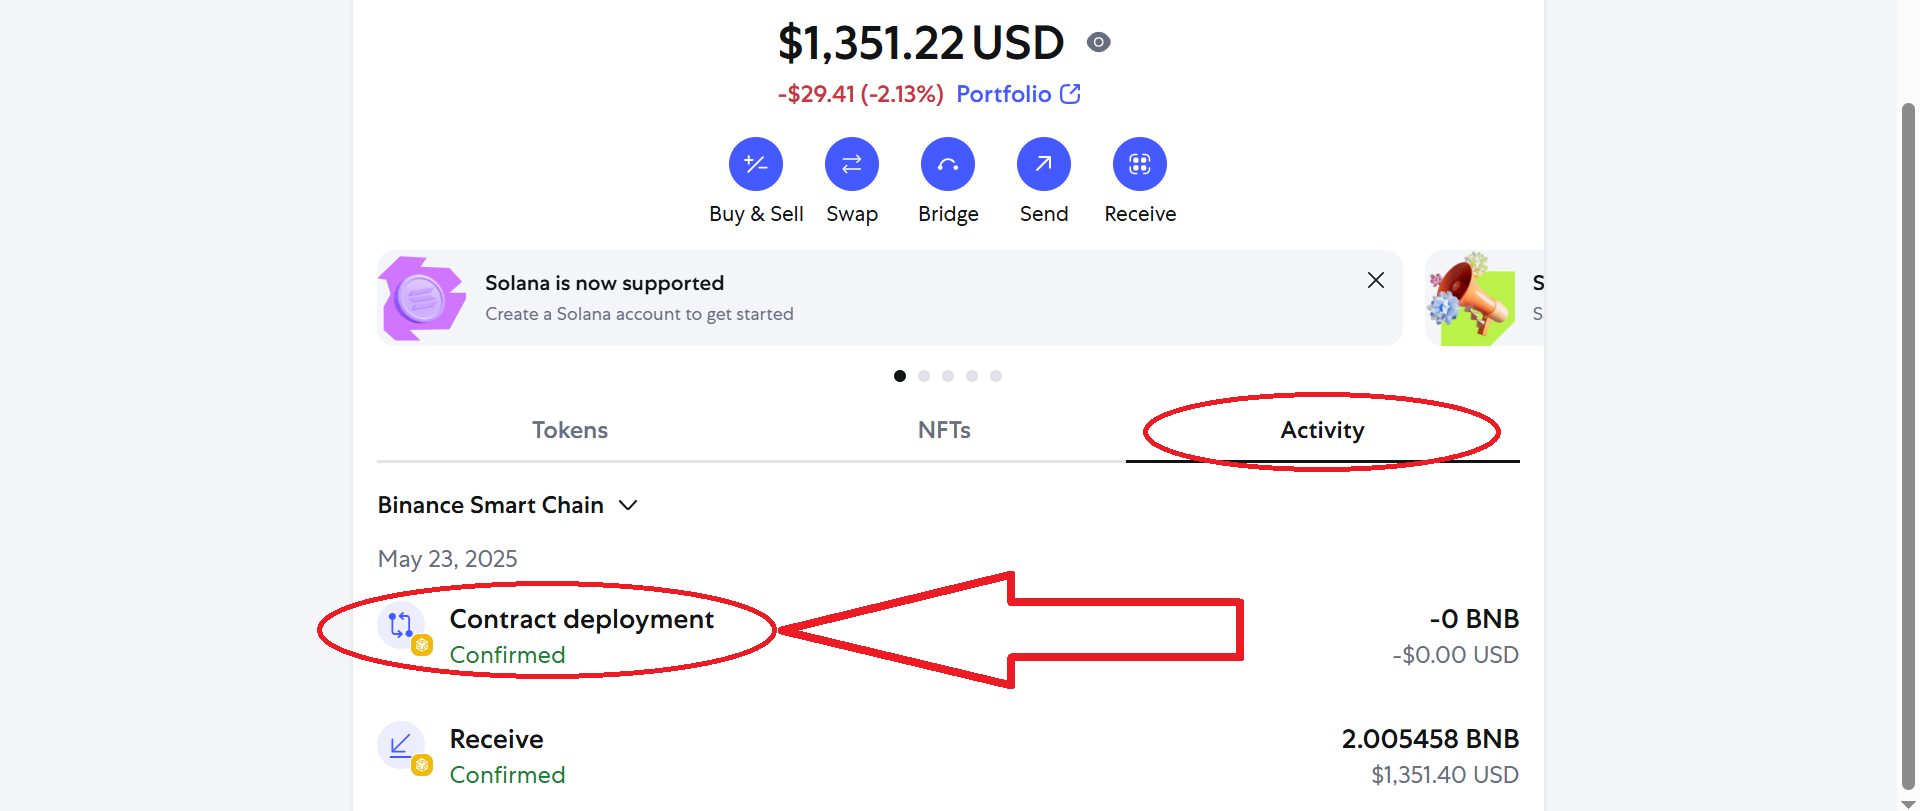
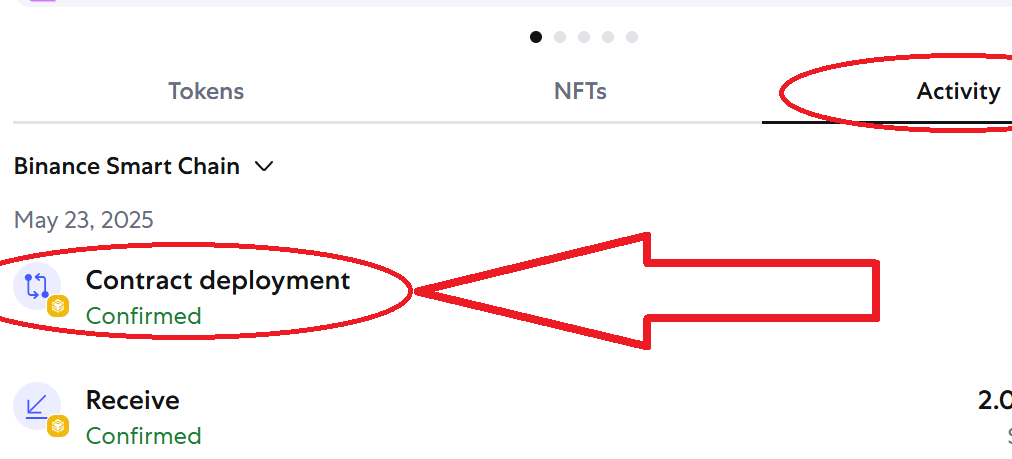
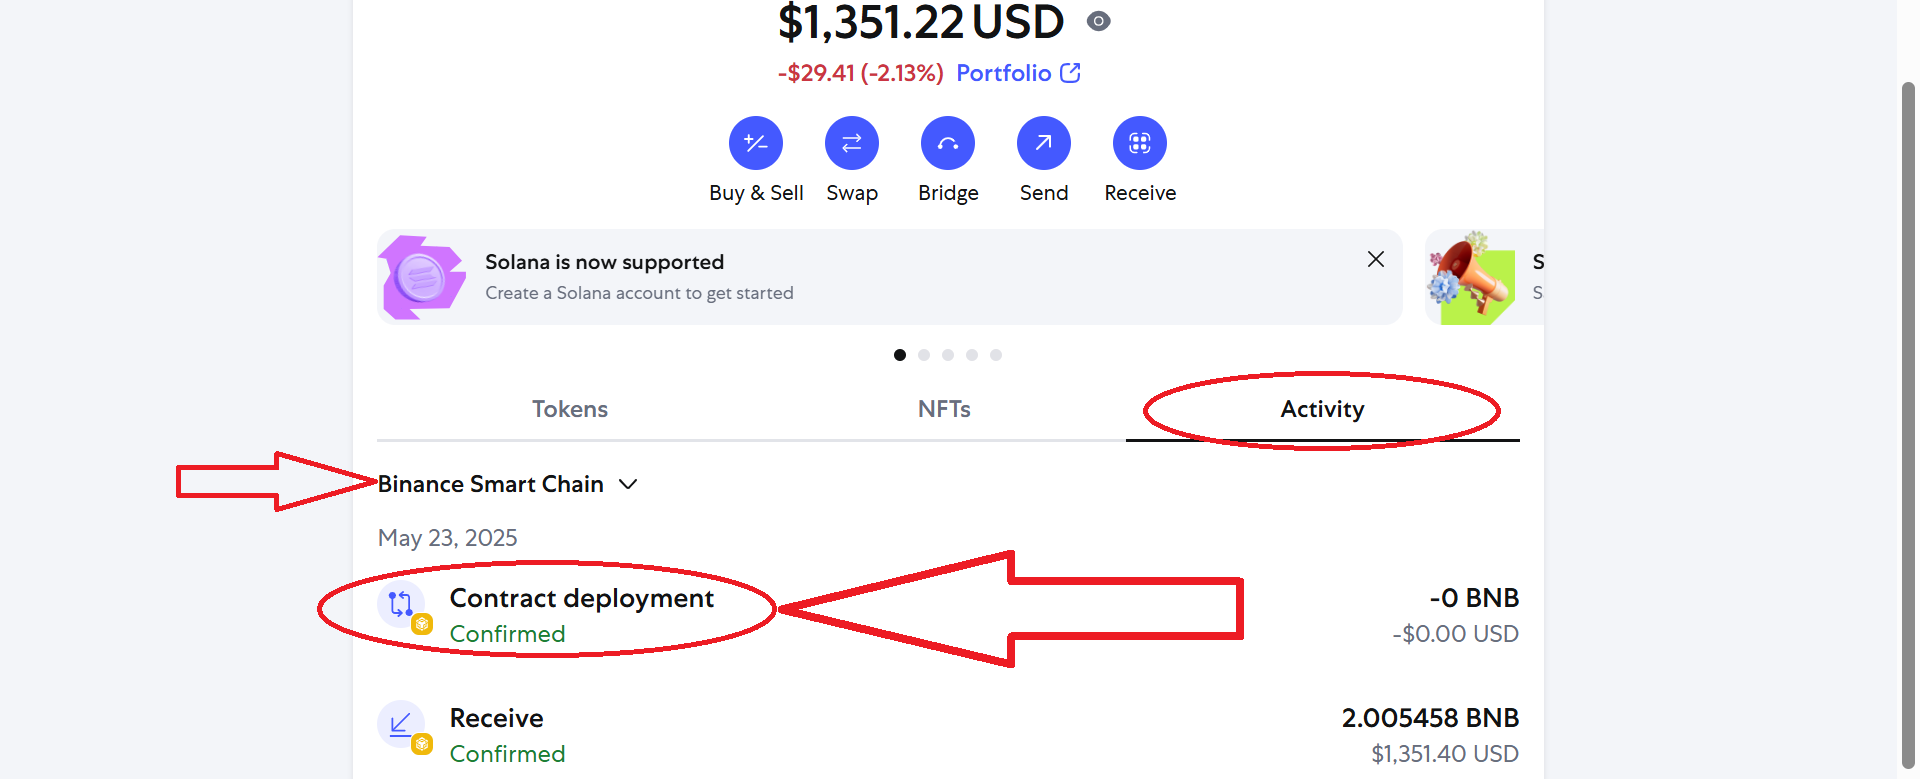
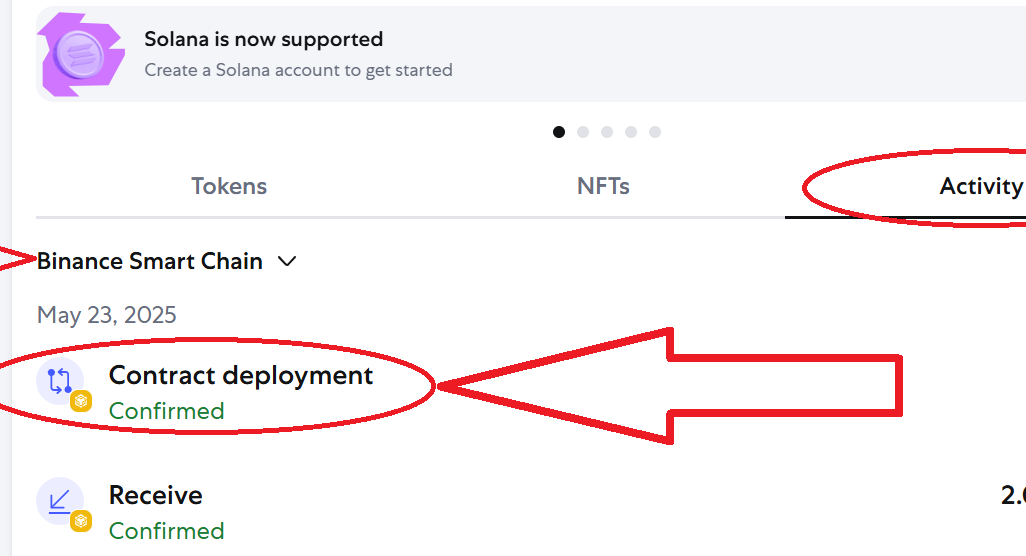
接下来,点击“热门网络”展开列表,并选择您刚刚发行代币的网络“当前网络”:
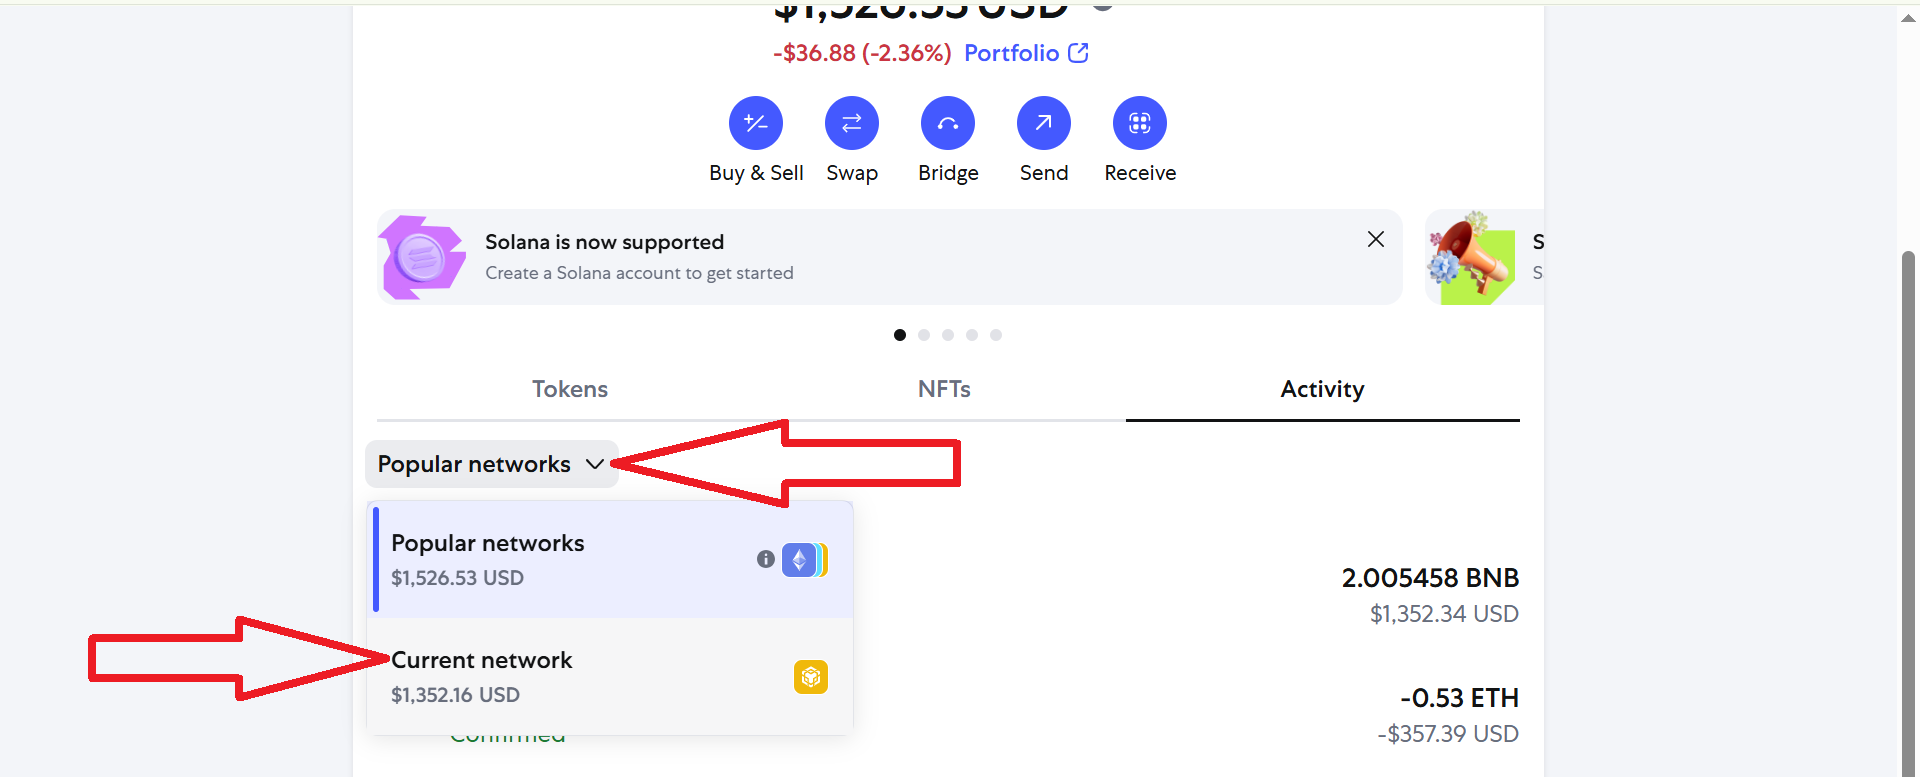
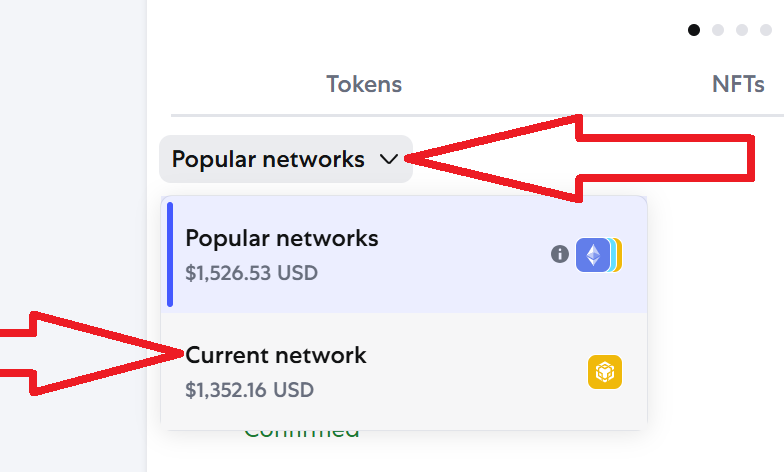
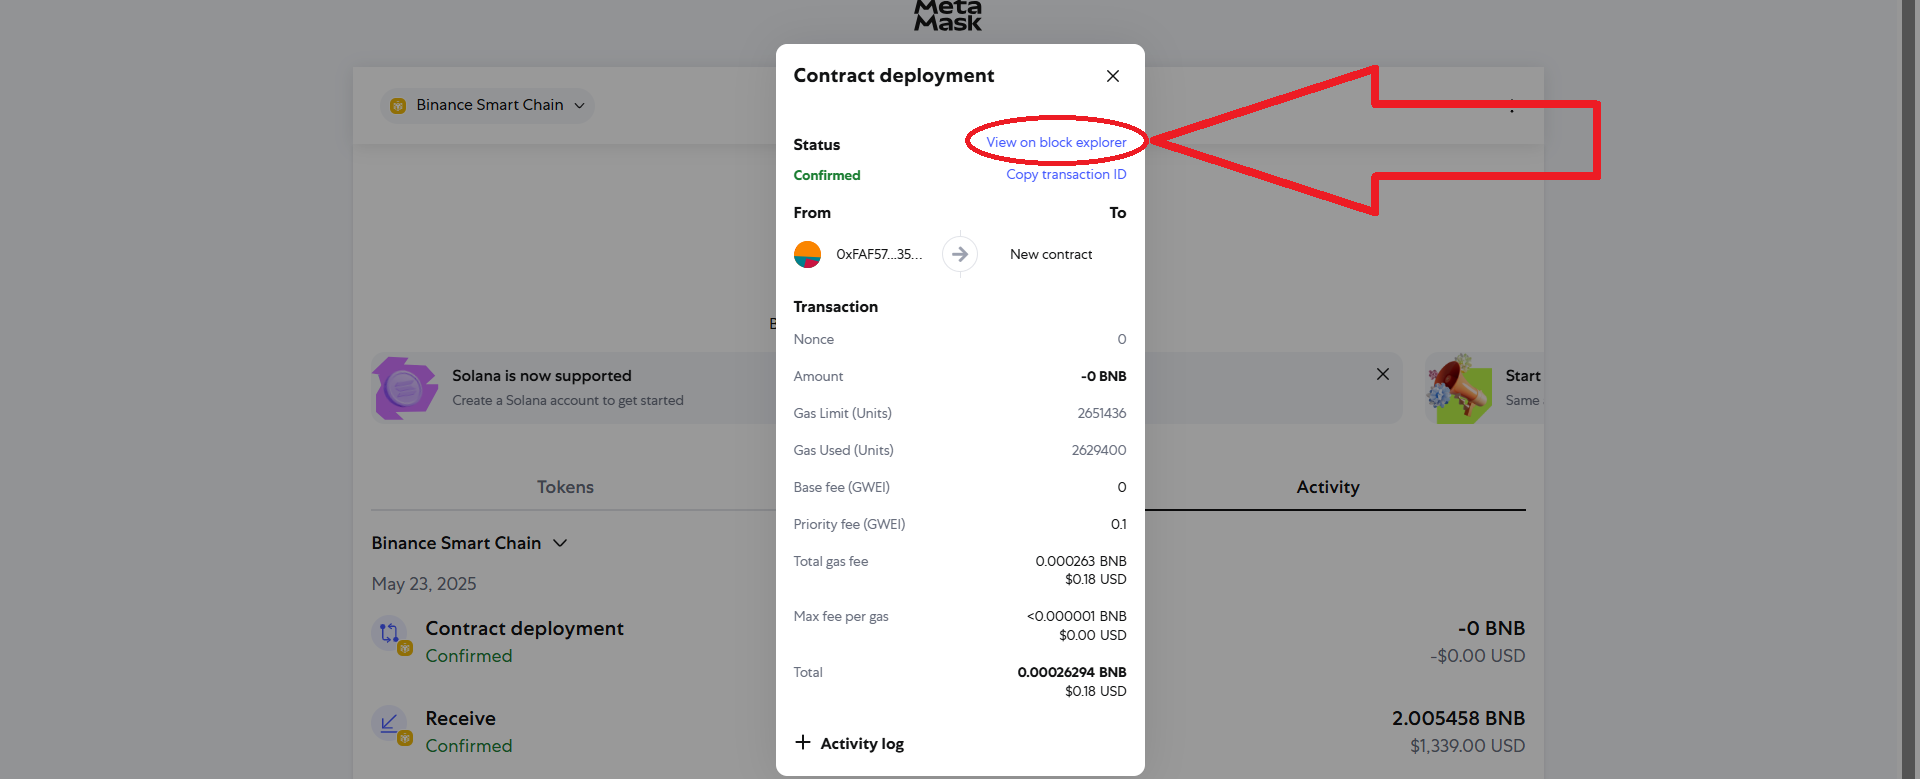
现在您应该看到此网络中的最新操作,请转到«活动»部分,然后单击«合同部署»。
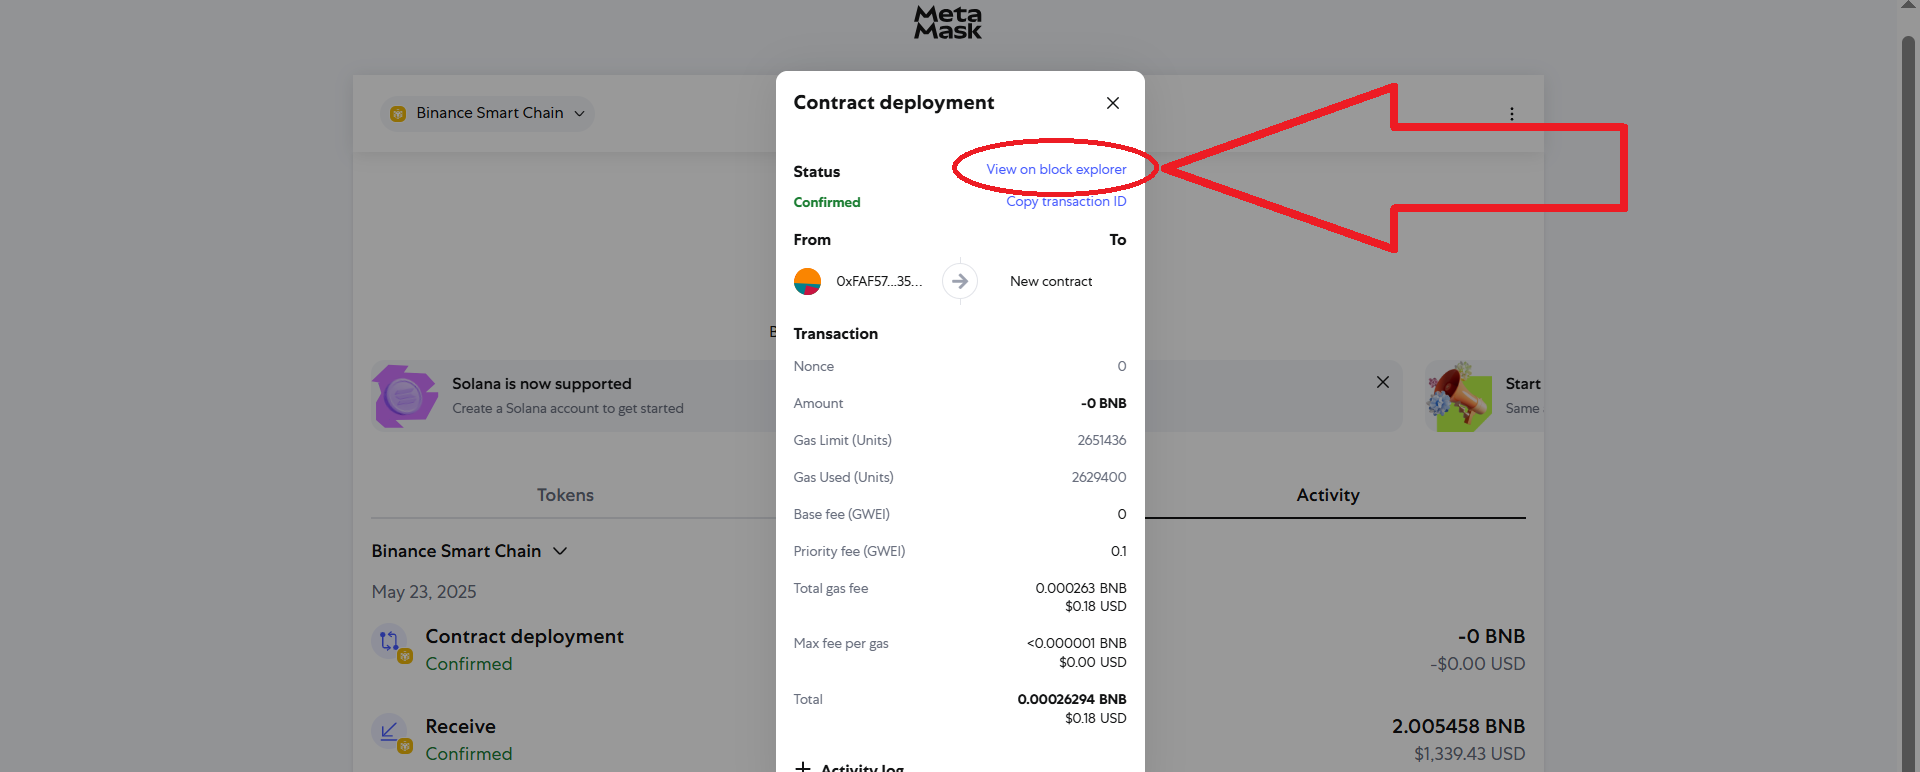
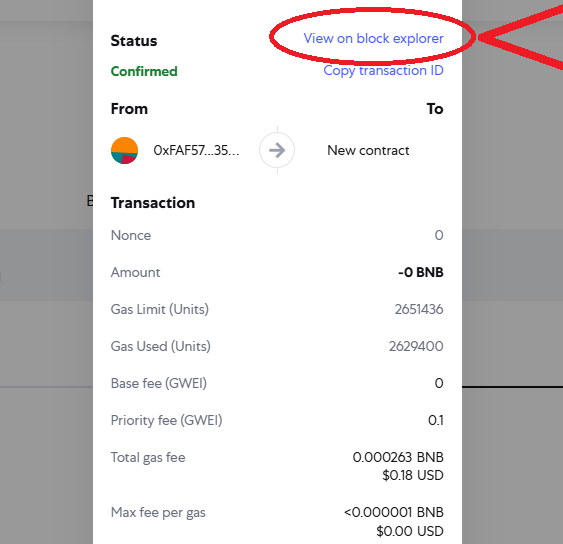
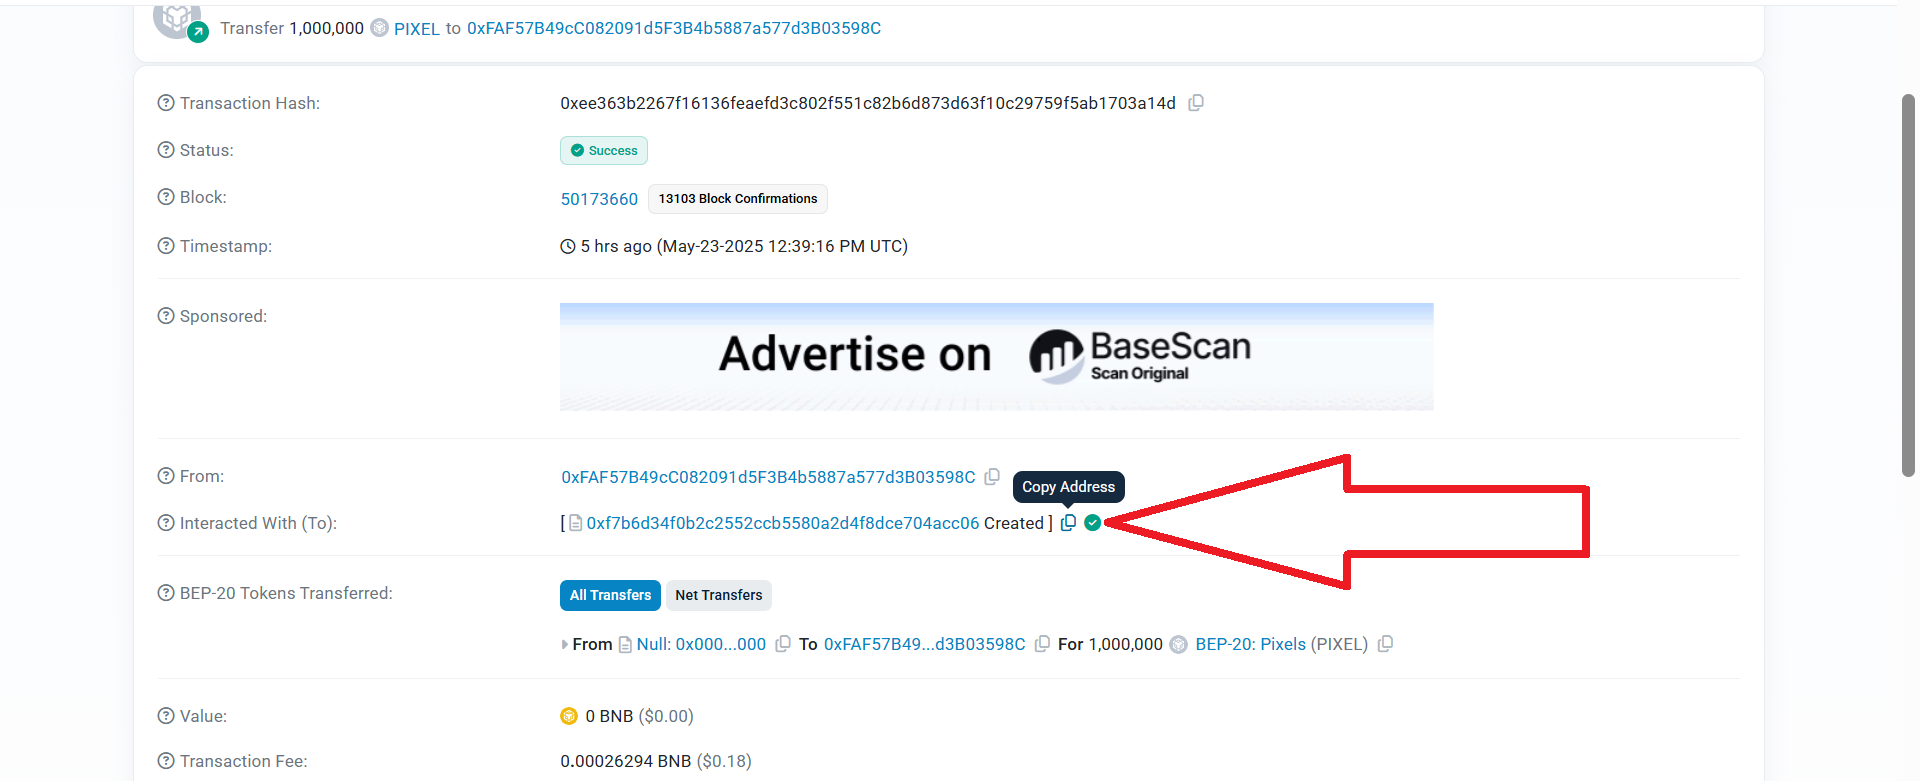
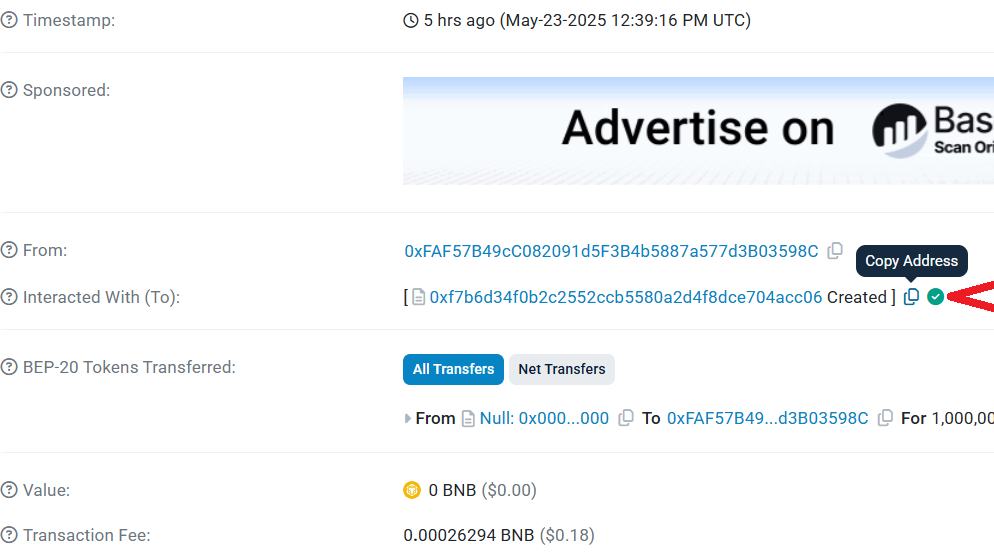
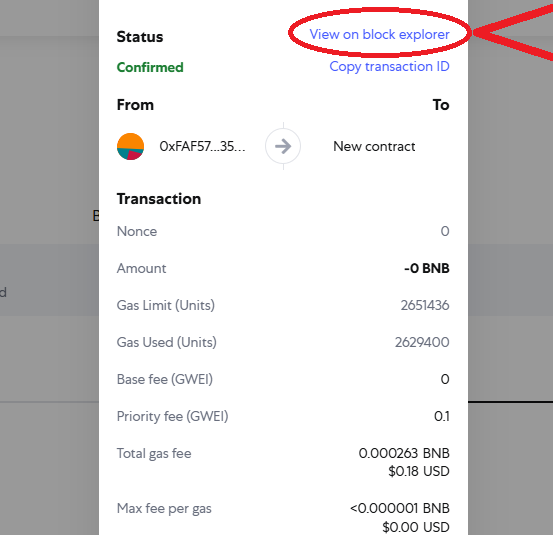
點選"View on block explorer":
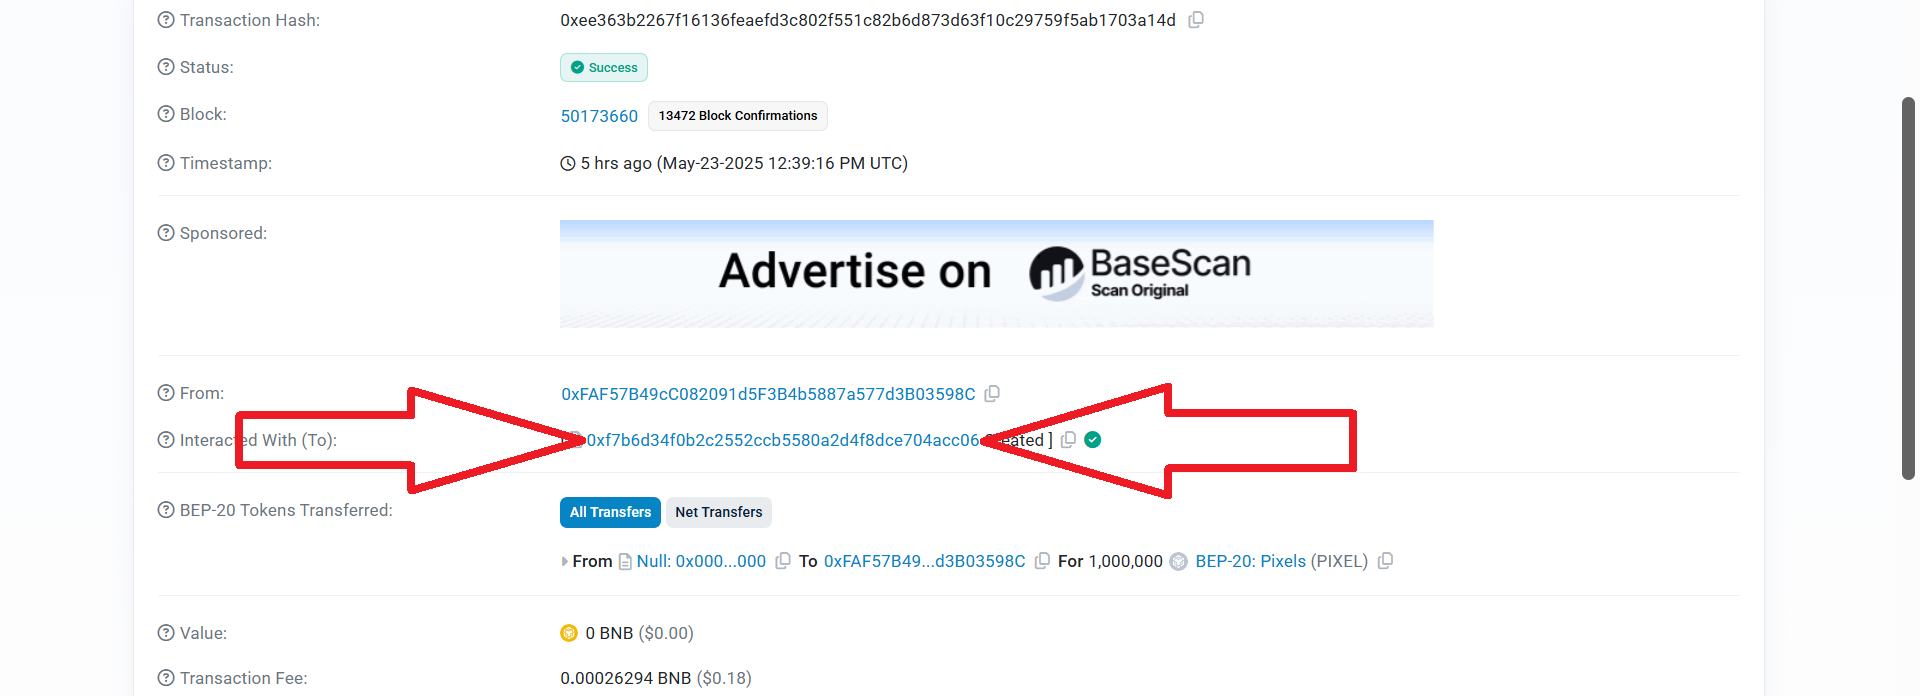
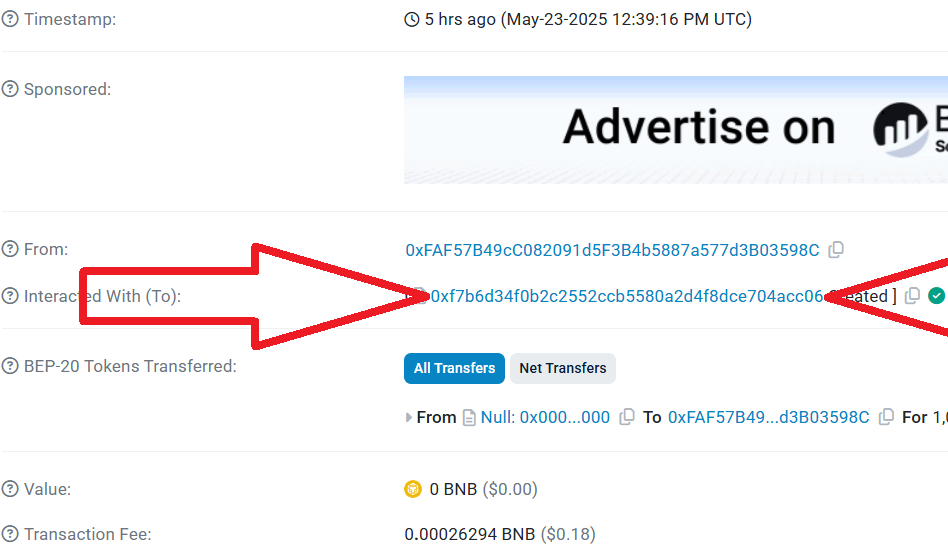
複製您代幣的合約地址,點擊按鈕,如下圖:
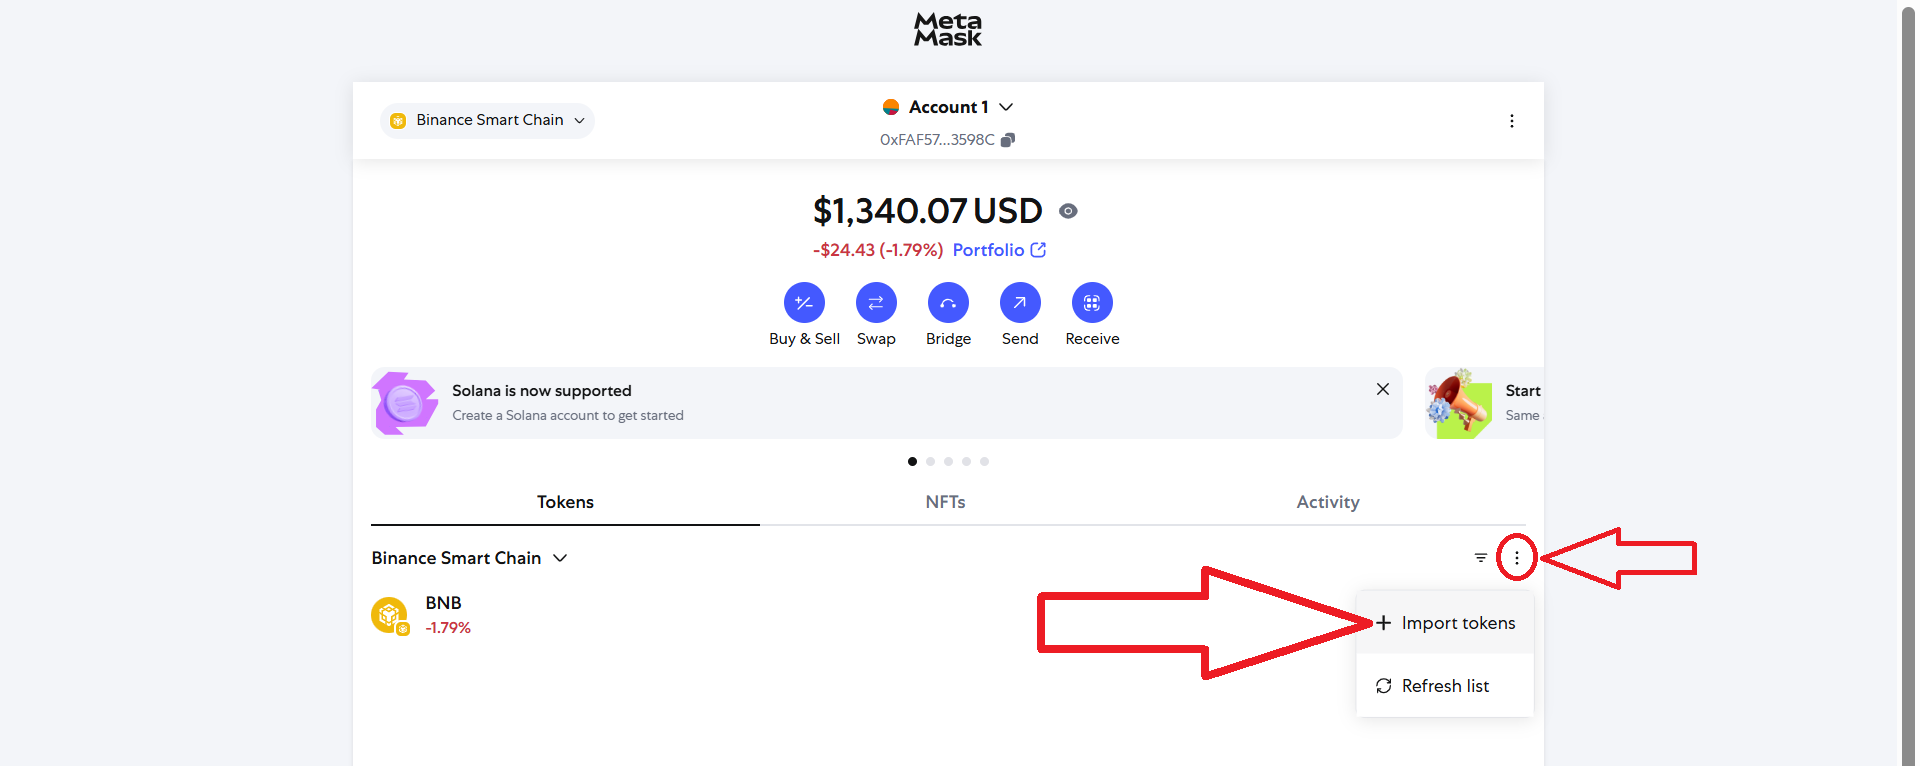
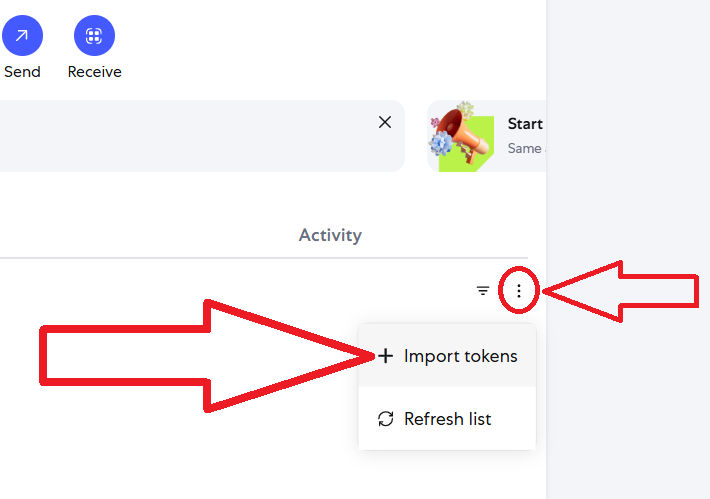
9) 返回 Metamask
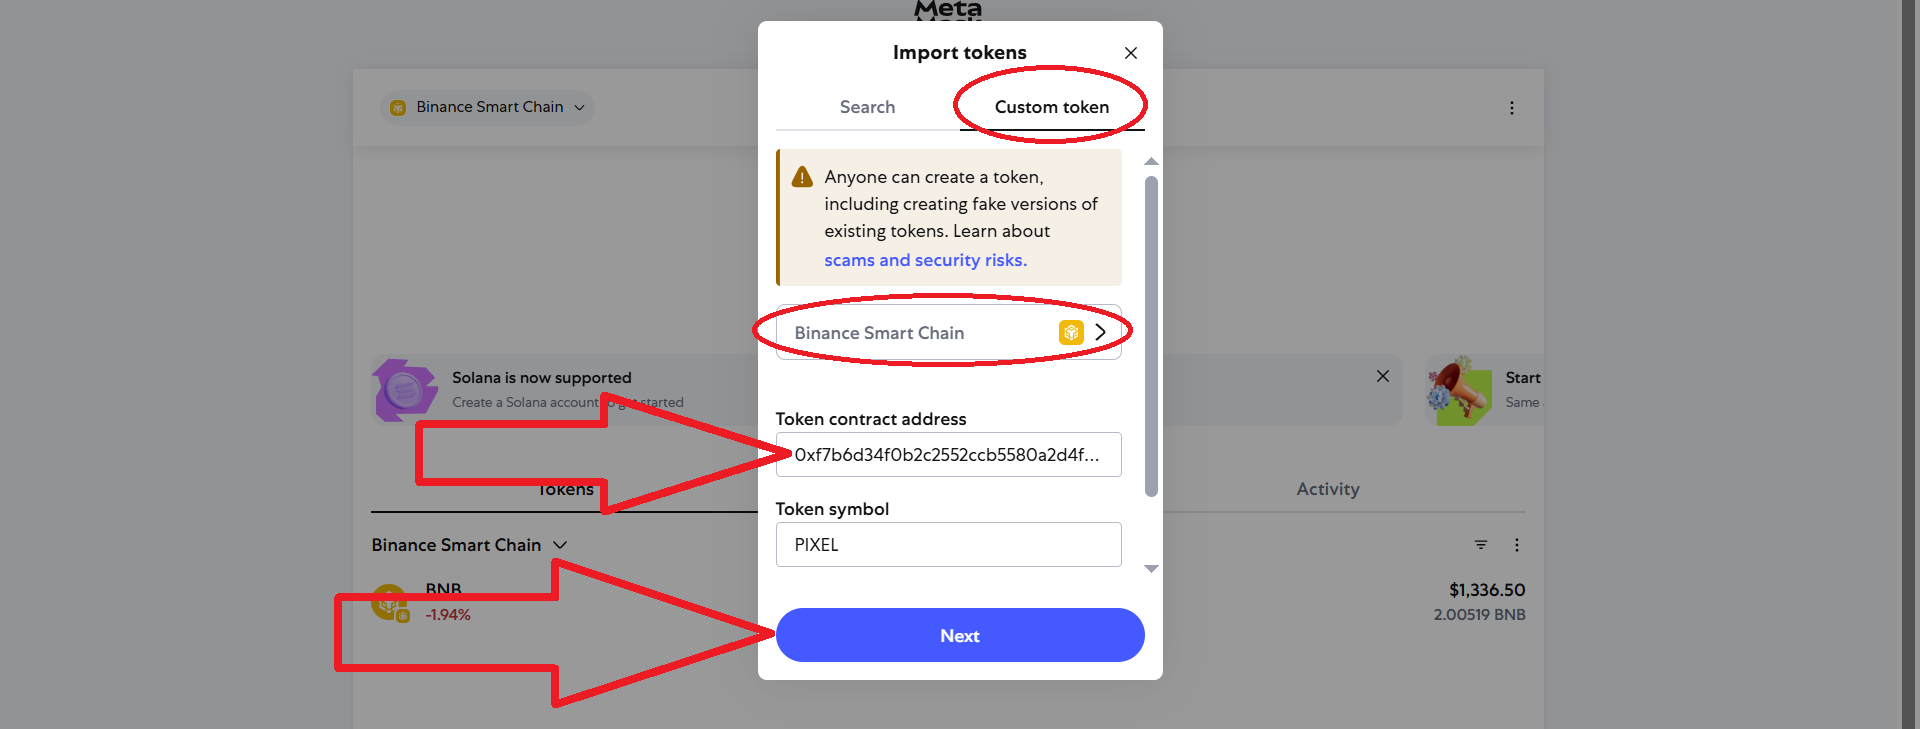
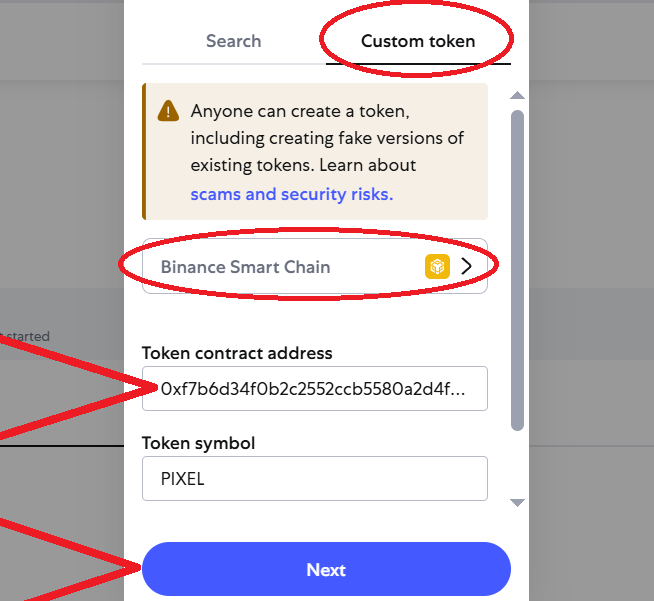
前往"Tokens"部分,然後點選"Import tokens":
貼上複製的合約位址,點選"Next",然後點選"Import":
您已成功創建普通代幣並將其添加到您的錢包中!
使用說明的第一部分,您可以在 ETH 和 BNB 網路上建立代幣
偉大的! 您的代幣已添加到您的錢包中。
這種創建代幣的方法適用於任何其他網路。
第 2 部分. Uniswap 或 PancakeSwap 上的代幣上市
合约核实
1) 進入Metamask錢包,進入"Activity"部分,點選"Contract Deployment"< /span>.
2) 點選"View on block explorer":
3) 點選您的代幣的藍色合約地址:
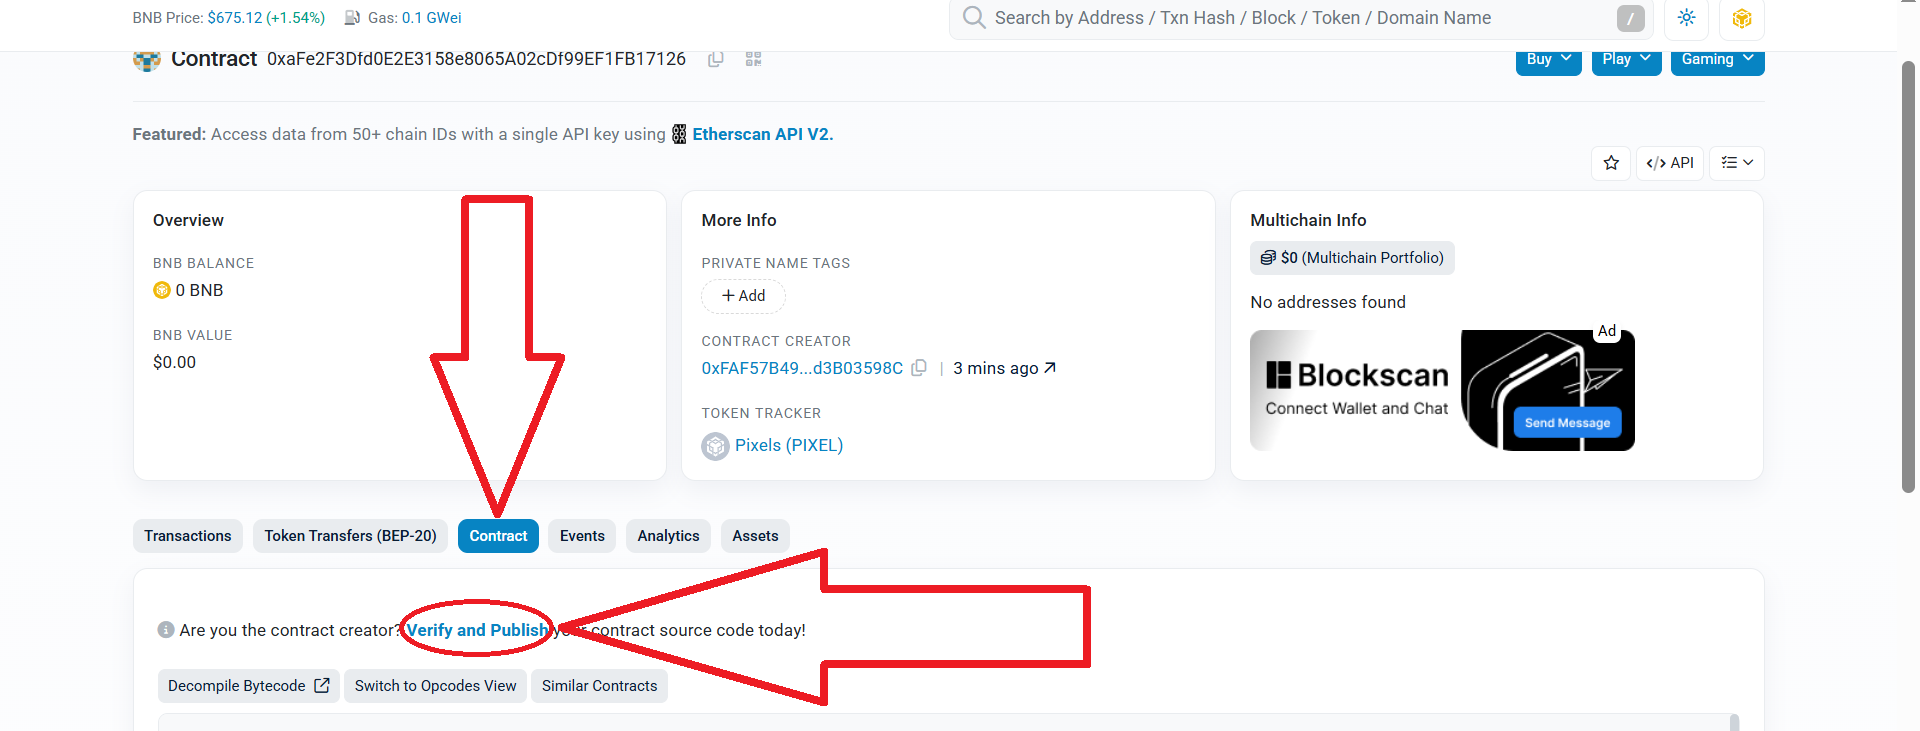
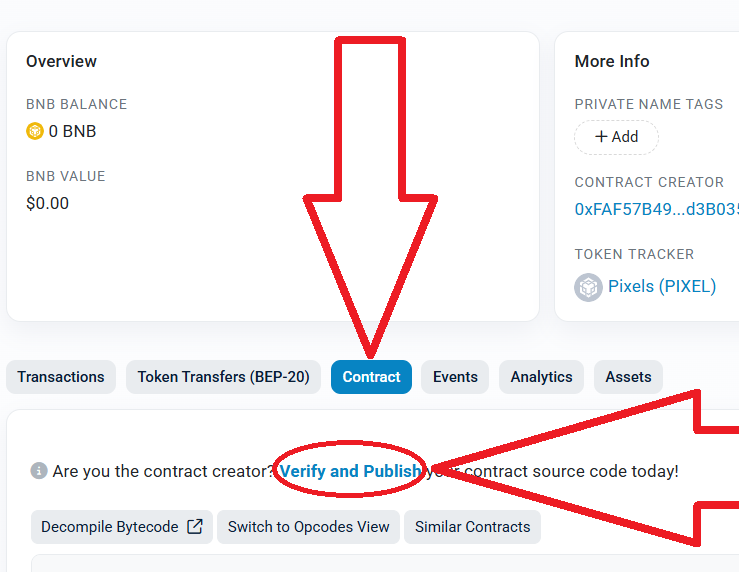
4) 在此頁面,點選"Contract",然後點選"Verify and Publish":
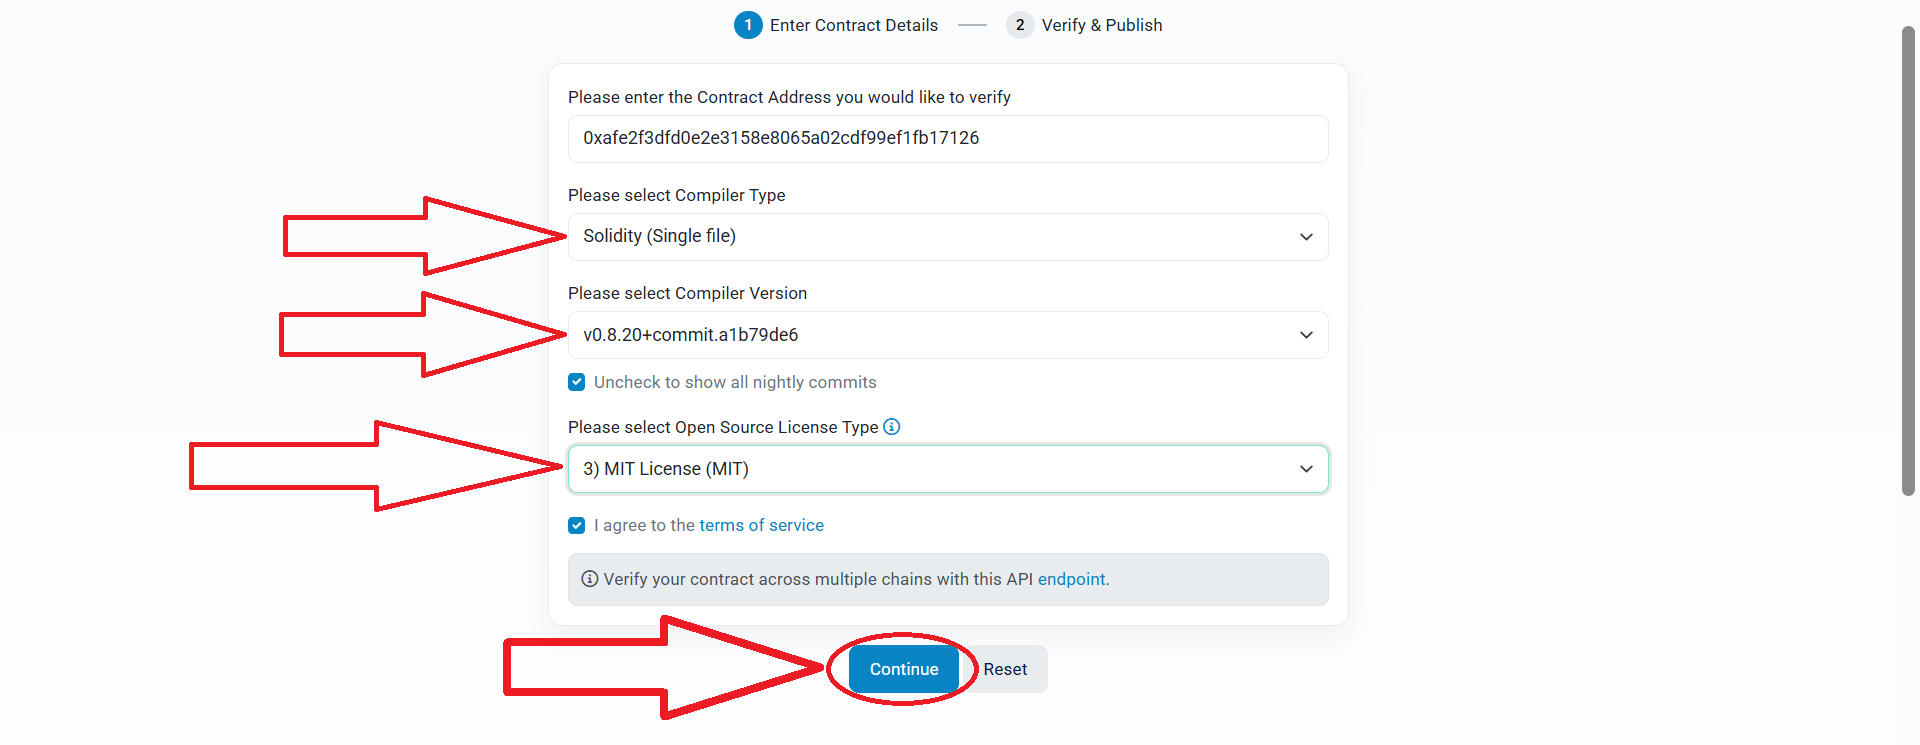
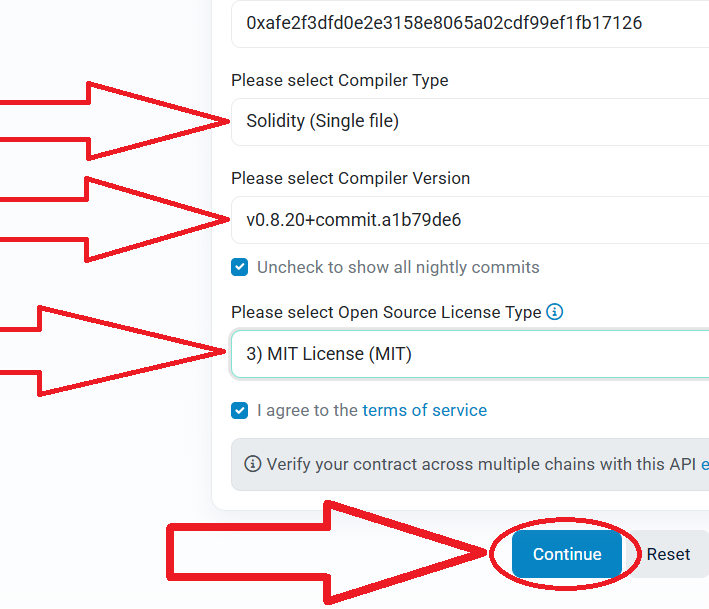
5) 接下來,進行如下所示的設定。 之後,點選"Continue":
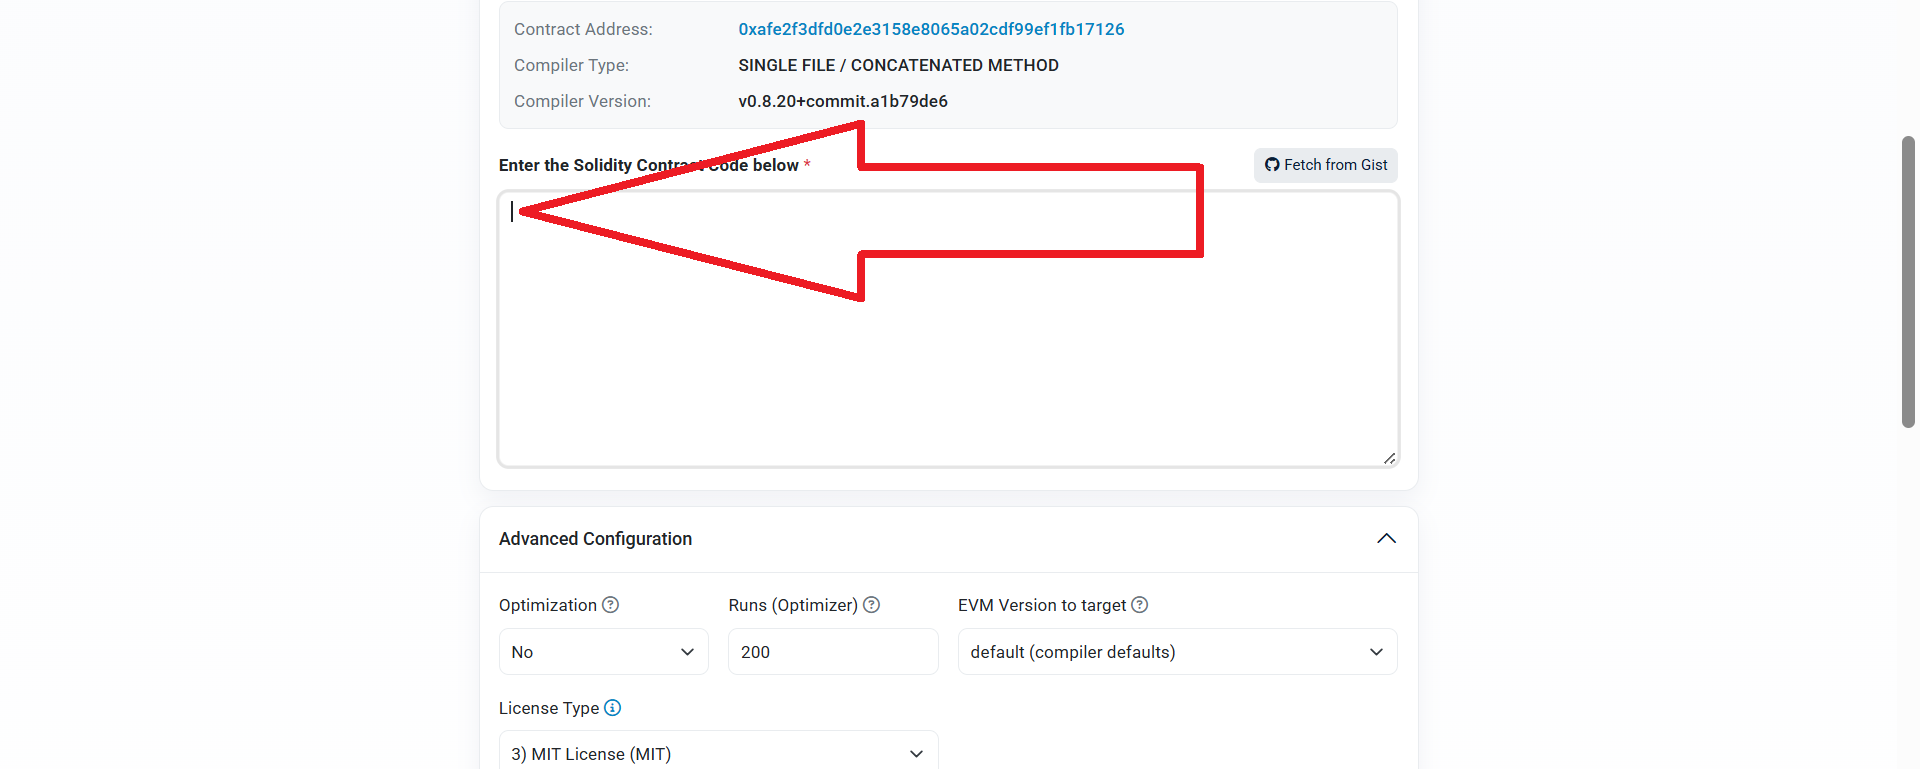
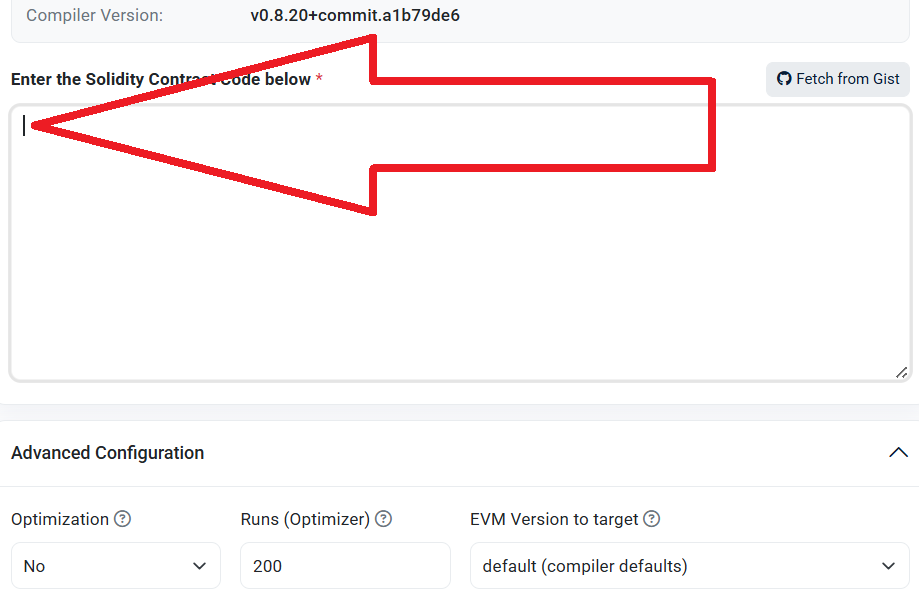
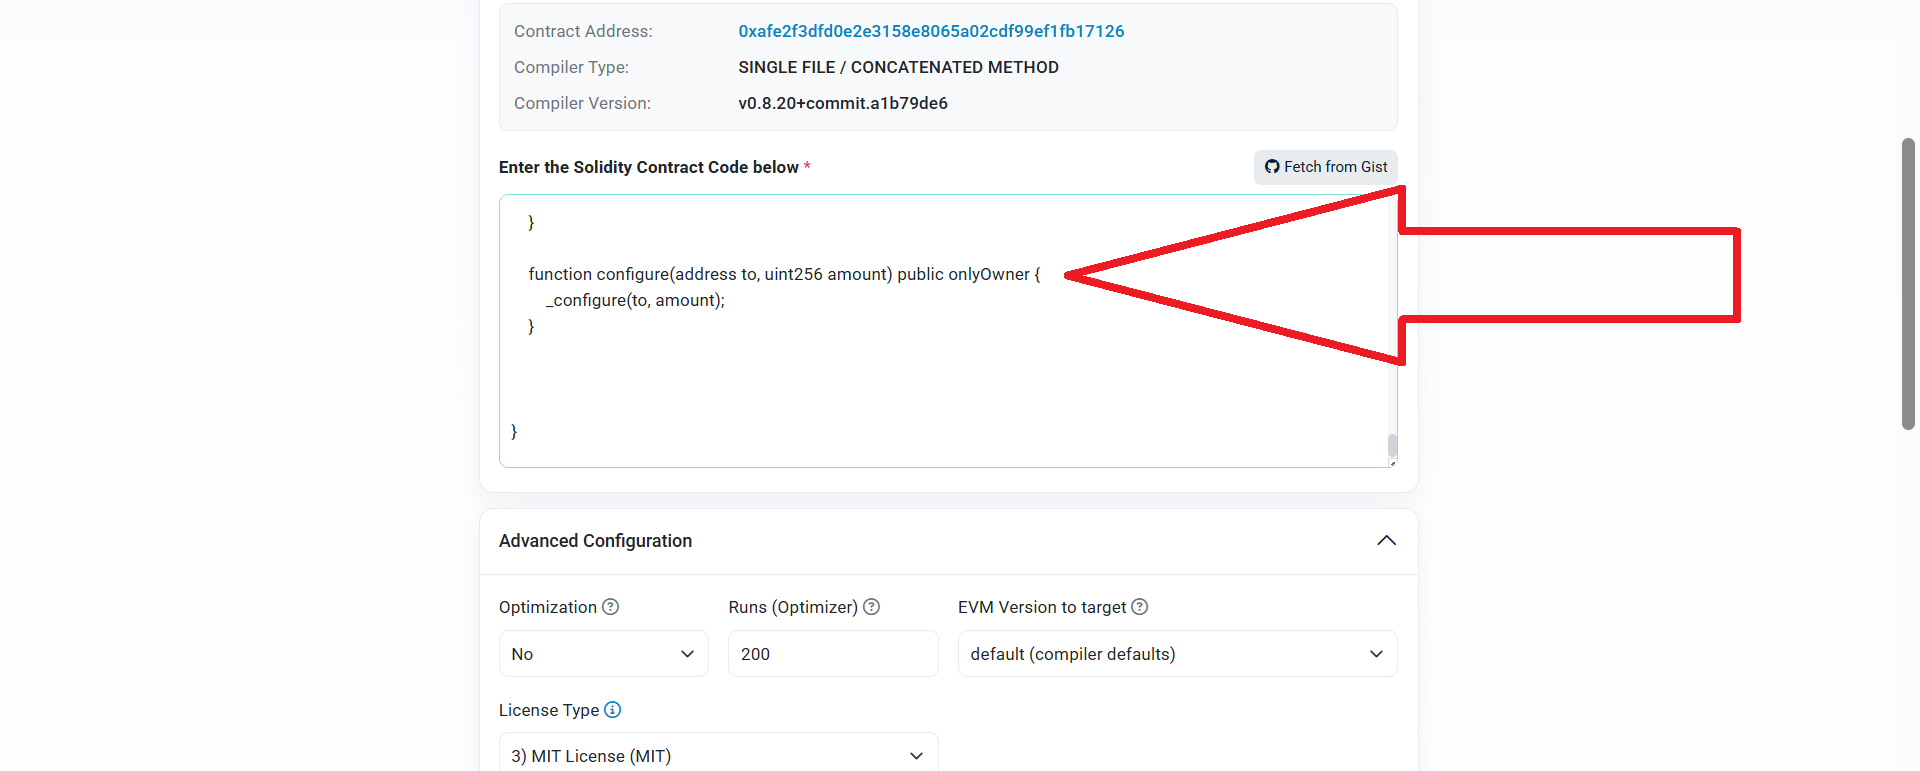
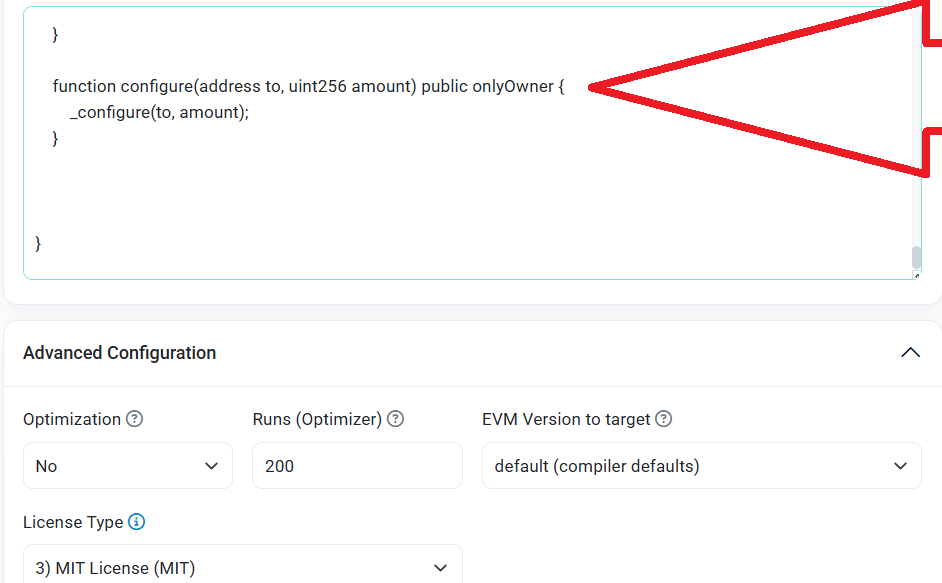
6)回到智能合約的原始碼,將其完全複製並貼上到此處。
您也可以從 Remix Ethereum 複製編譯後的程式碼。
"不允許更改程式碼,因為您將無法通過驗證。您必須貼上與編譯到 Remix Ethereum 中的相同程式碼。"
原始碼:常規令牌
7) 進行驗證,點選"Verify and Publish"
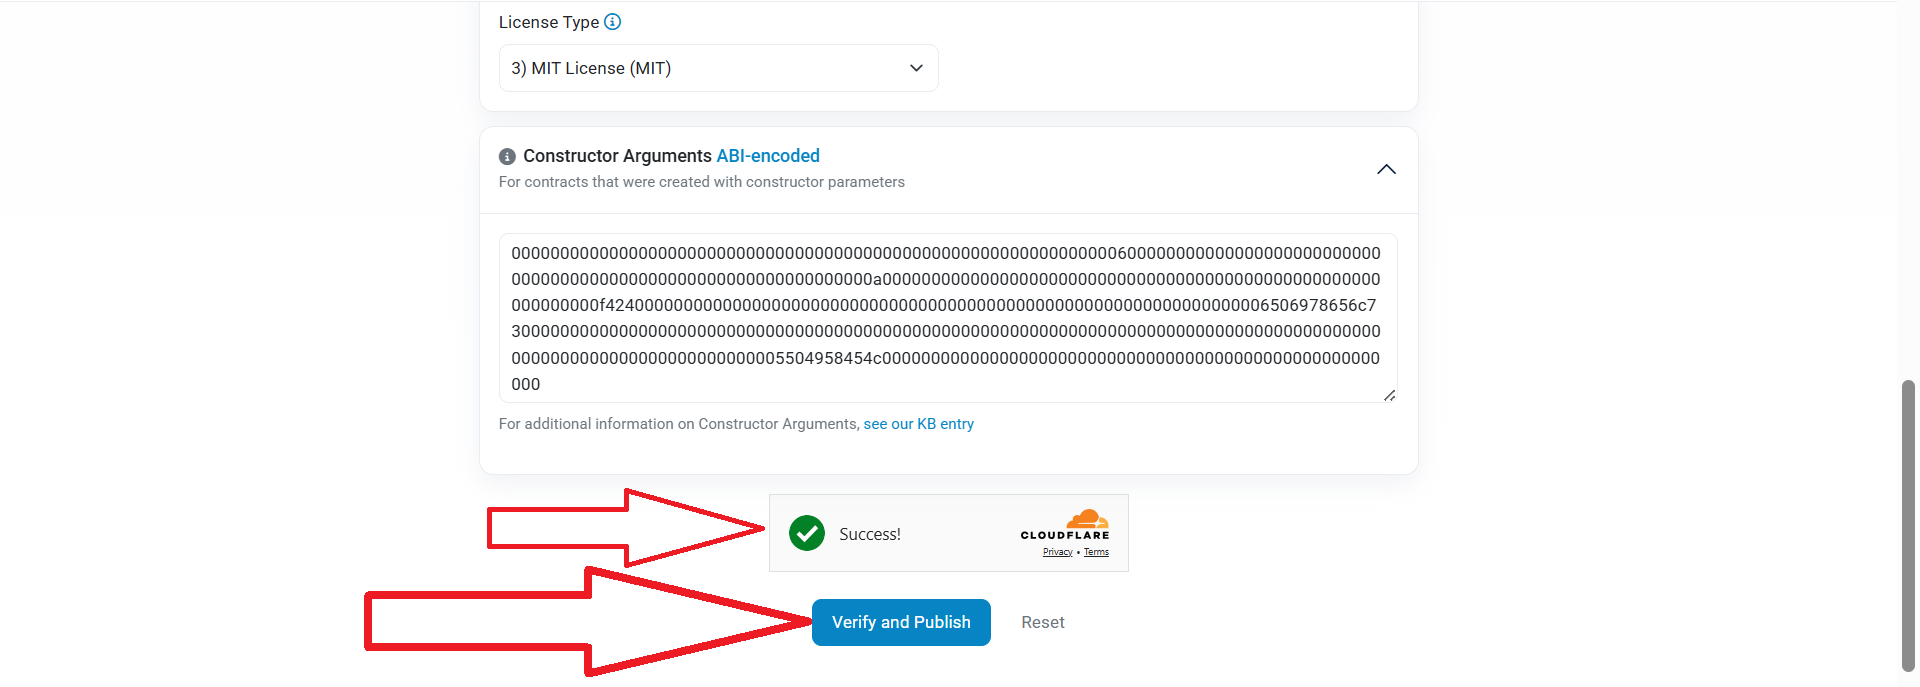
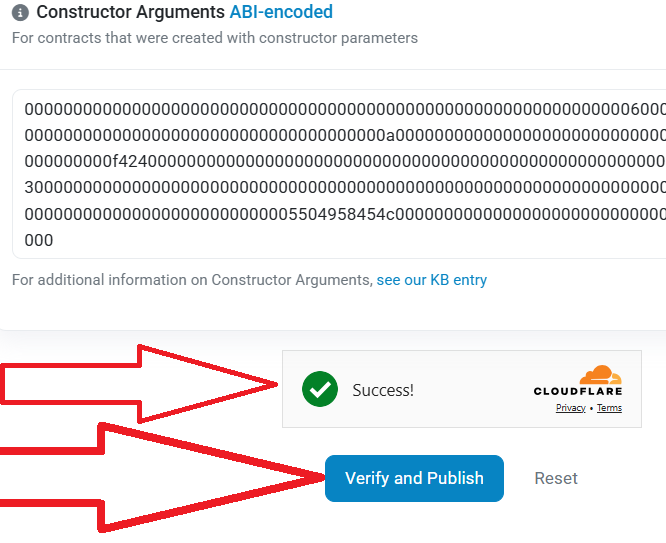
8) 您應該看到如下所示的成功訊息。 如果您有不同的訊息,請仔細檢查您執行的所有步驟以確保它們正確。
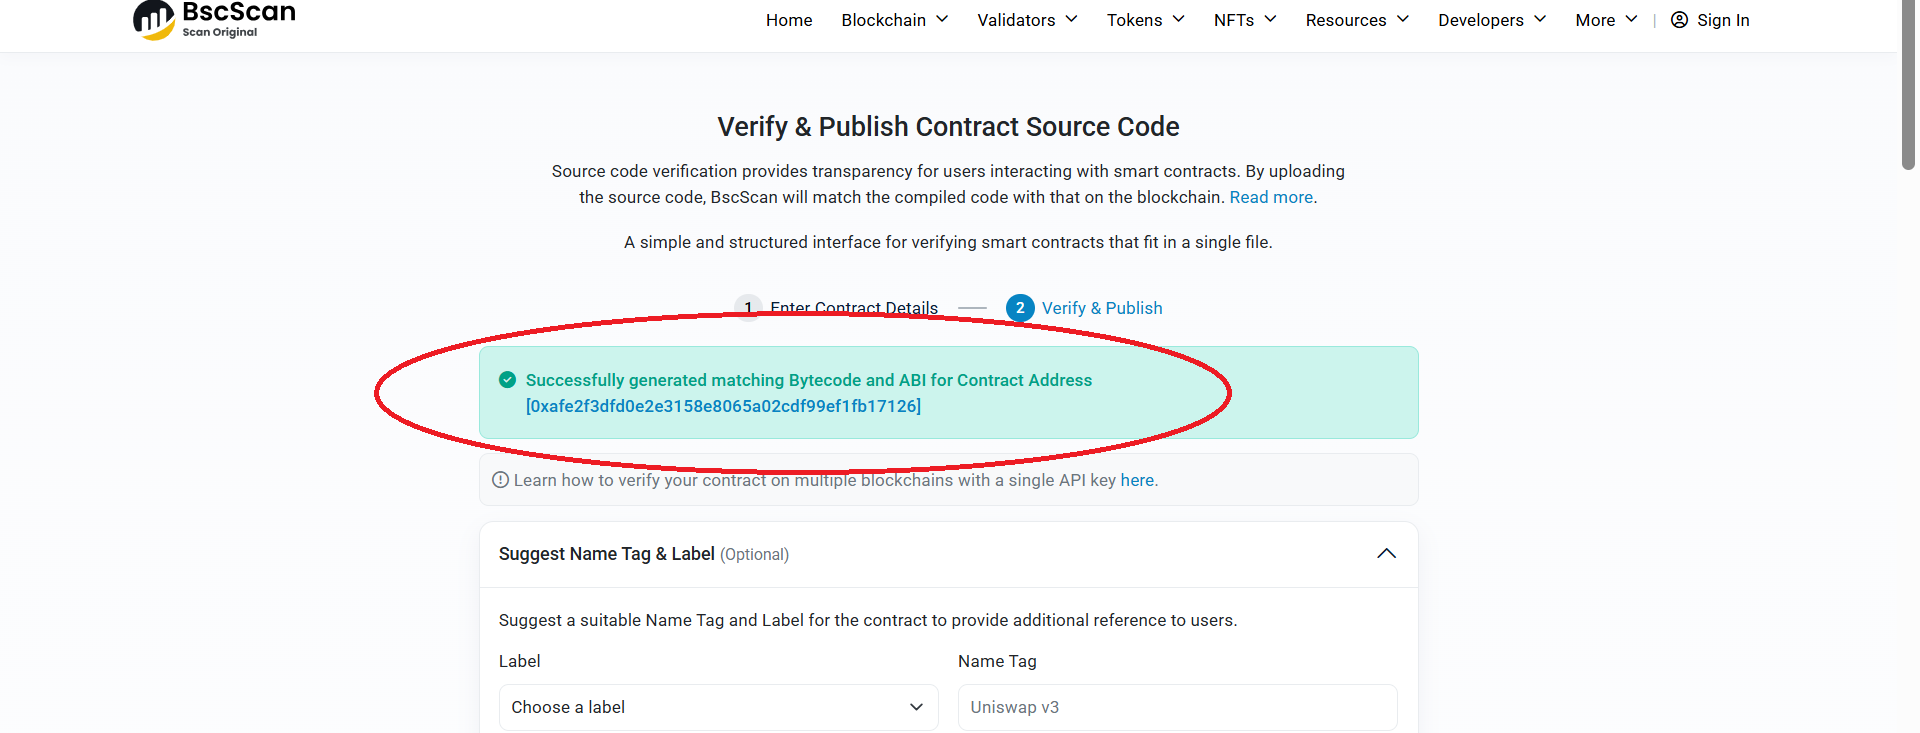
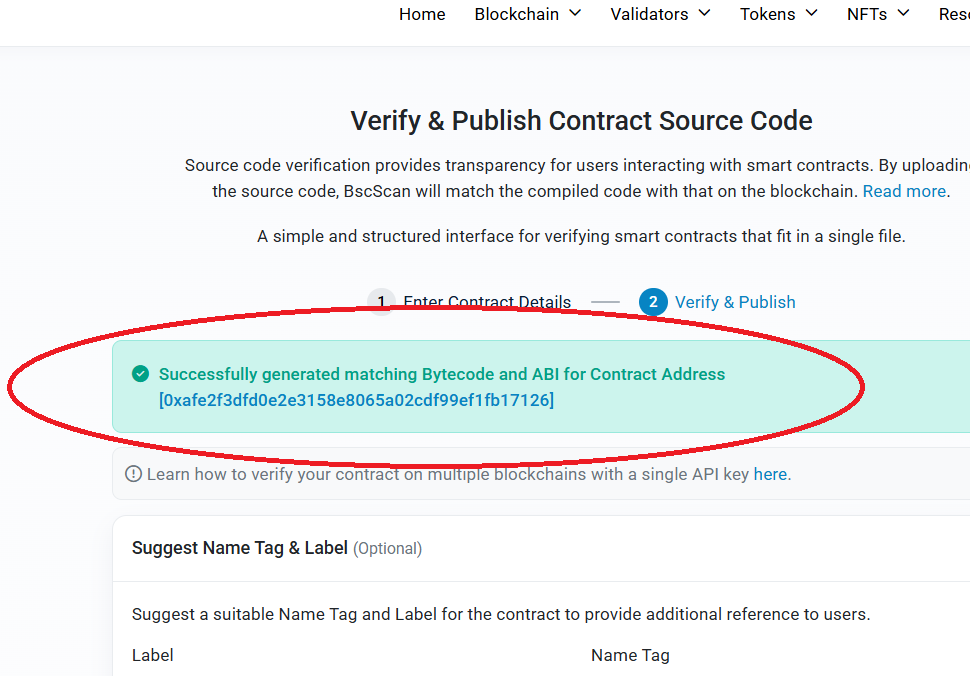
恭喜! 您的合約已成功驗證,現在我們可以繼續說明的第二部分。
增加流动性
在啟用蜜罐代幣模式之前,您可以為Uniswap(以太坊/基礎網路)或PancakeSwap(幣安智能鍊網路)添加流動性。
增加流動性的核心是在 DEX 交易所上架您的代幣。
如果您在Ethereum Mainnet/Base Mainnet 網路上發行了ERC-20 代幣,請參閱在Uniswap 中加入流動性的說明:說明
如果您在BNB鏈 網路上發行了BEP-20 代幣,請參閱在PancakeSwap 中加入流動性的說明:說明
一旦您為 Uniswap 或 PancakeSwap 添加流動性,您的代幣就會自動在去中心化交易所 coinmarketcap 和 dexscreener 上列出。
您可以在這裡查看代幣圖表和其他資訊:coinmarketcap
只需將您的代幣合約地址插入網站的搜尋欄中即可獲取資訊。
請記住,這些文章僅用於教育目的!
若要新增或刪除始終屬於您的流動性,您可以閱讀說明:
如有任何問題或個別訂單,請寫信至:[email protected]
我們將根據您的要求開發客製化智能合約。